Introduction to Stereolithography
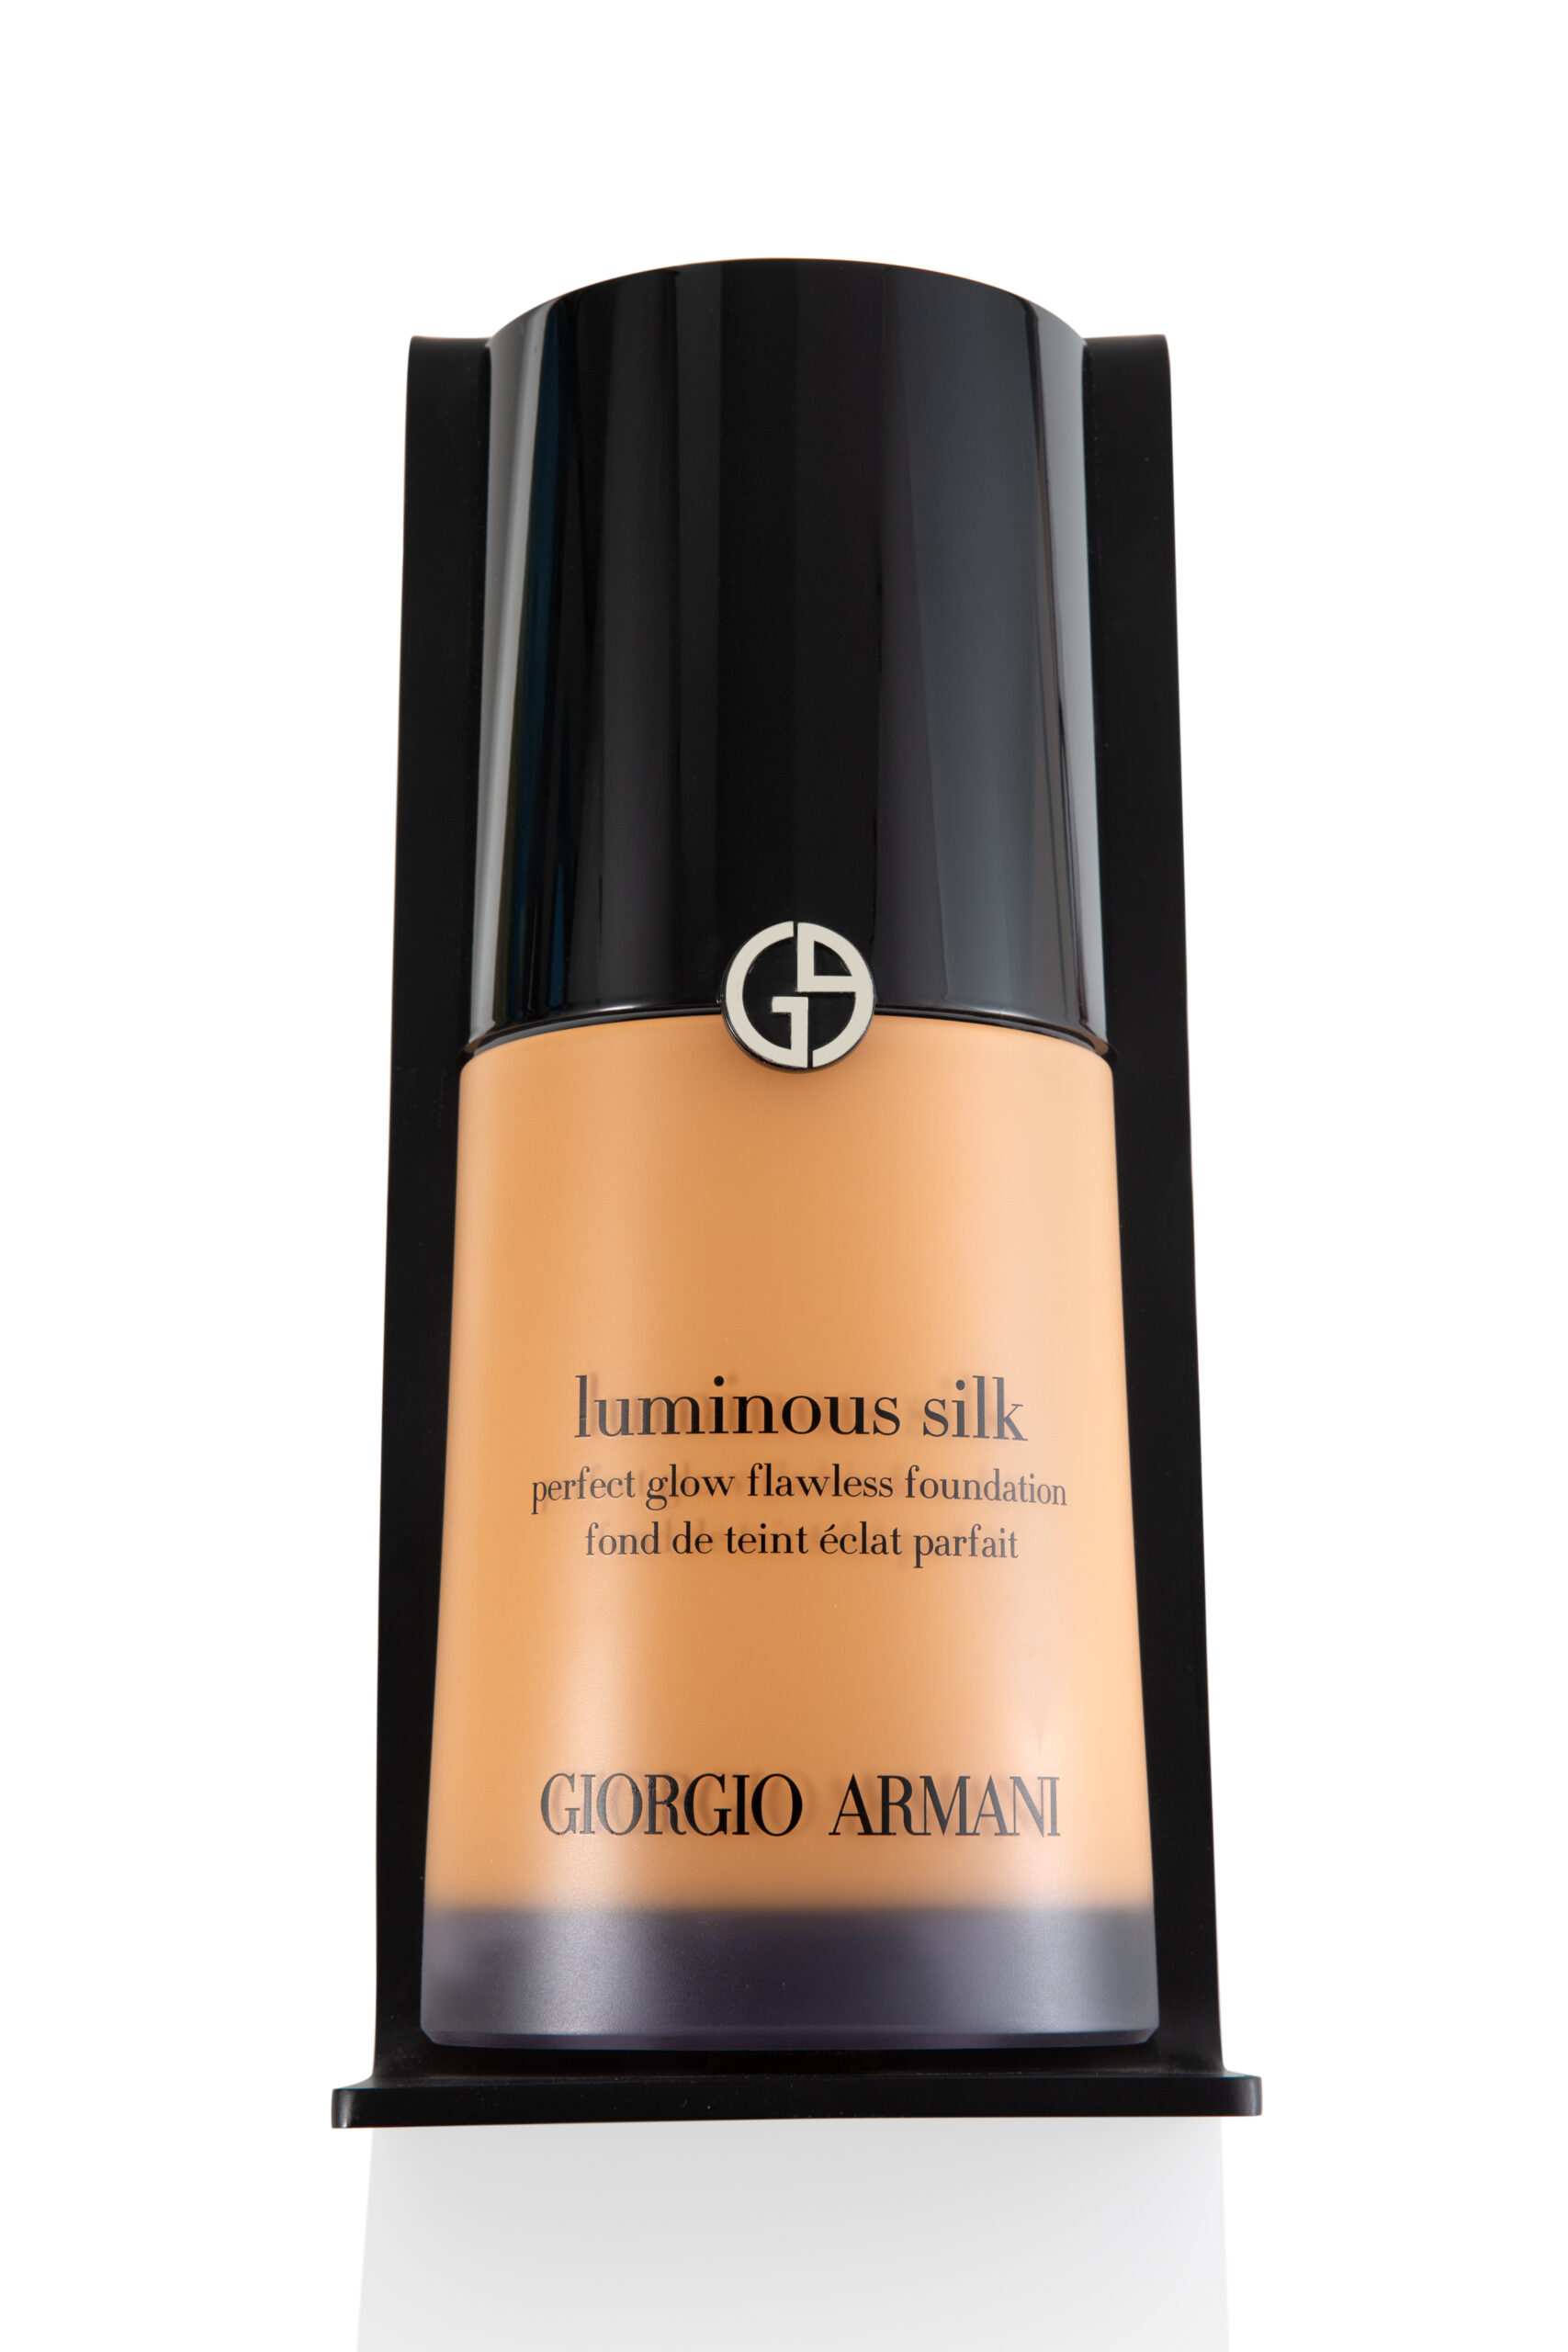
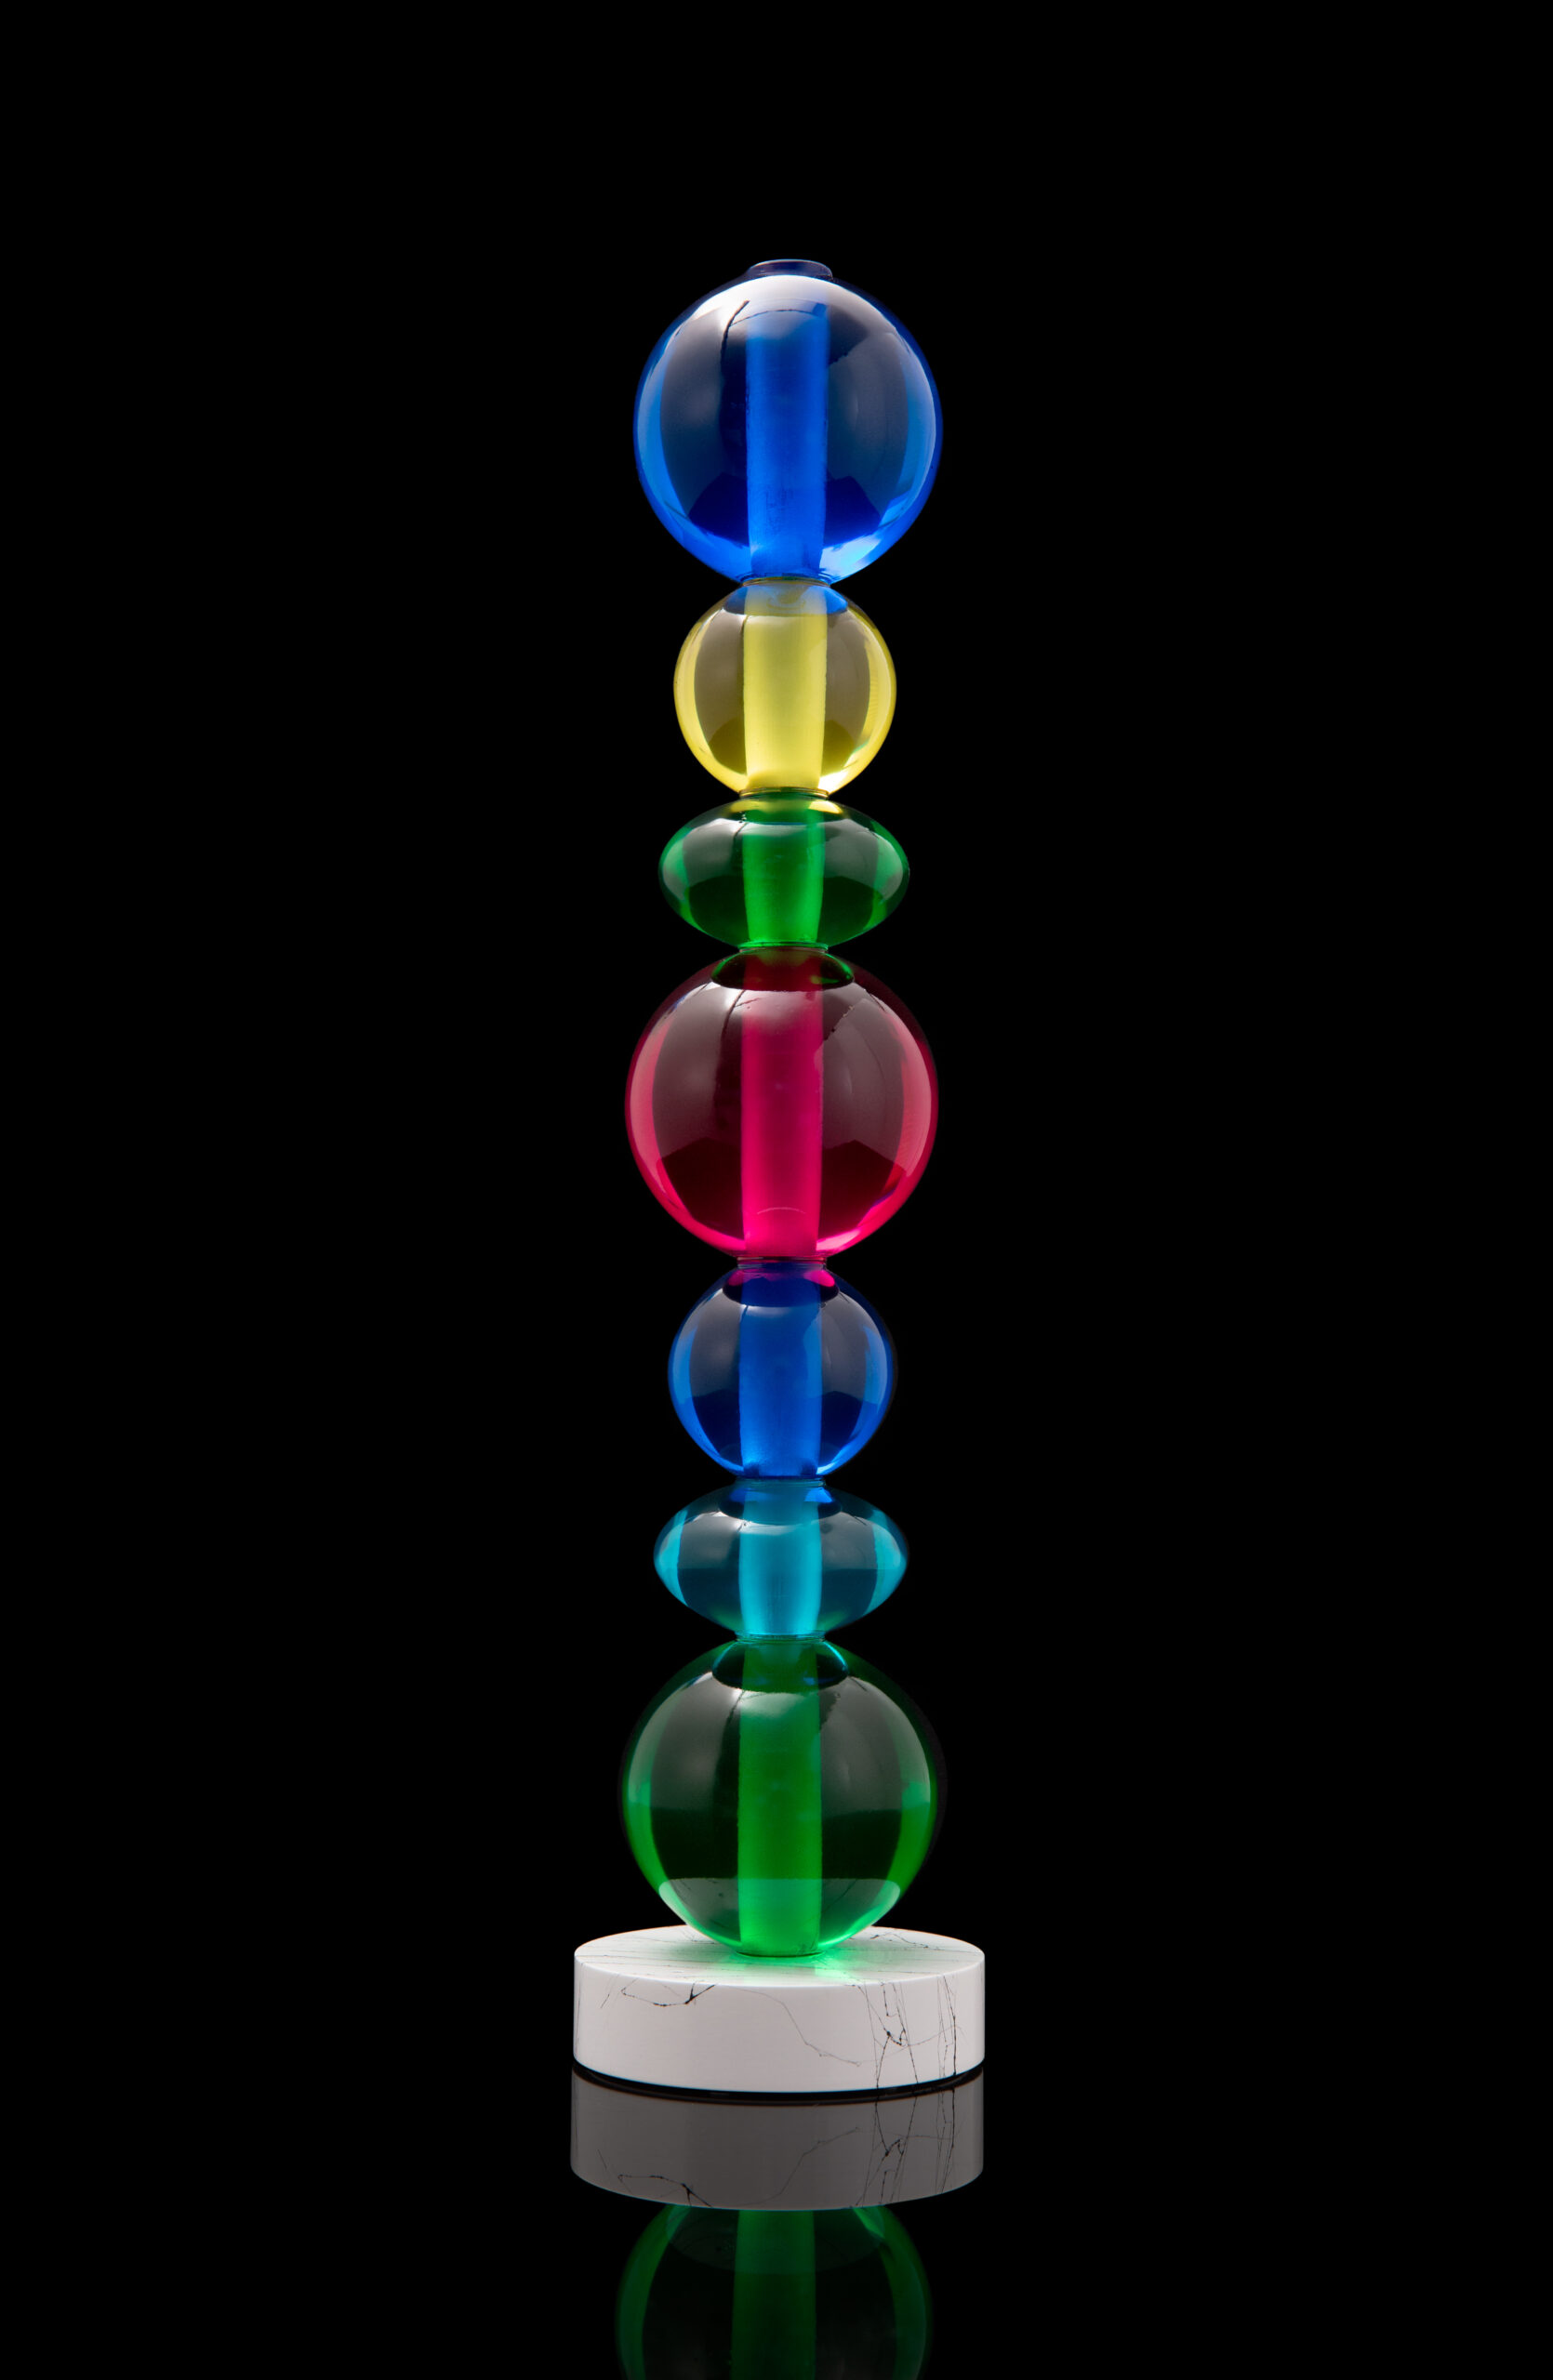
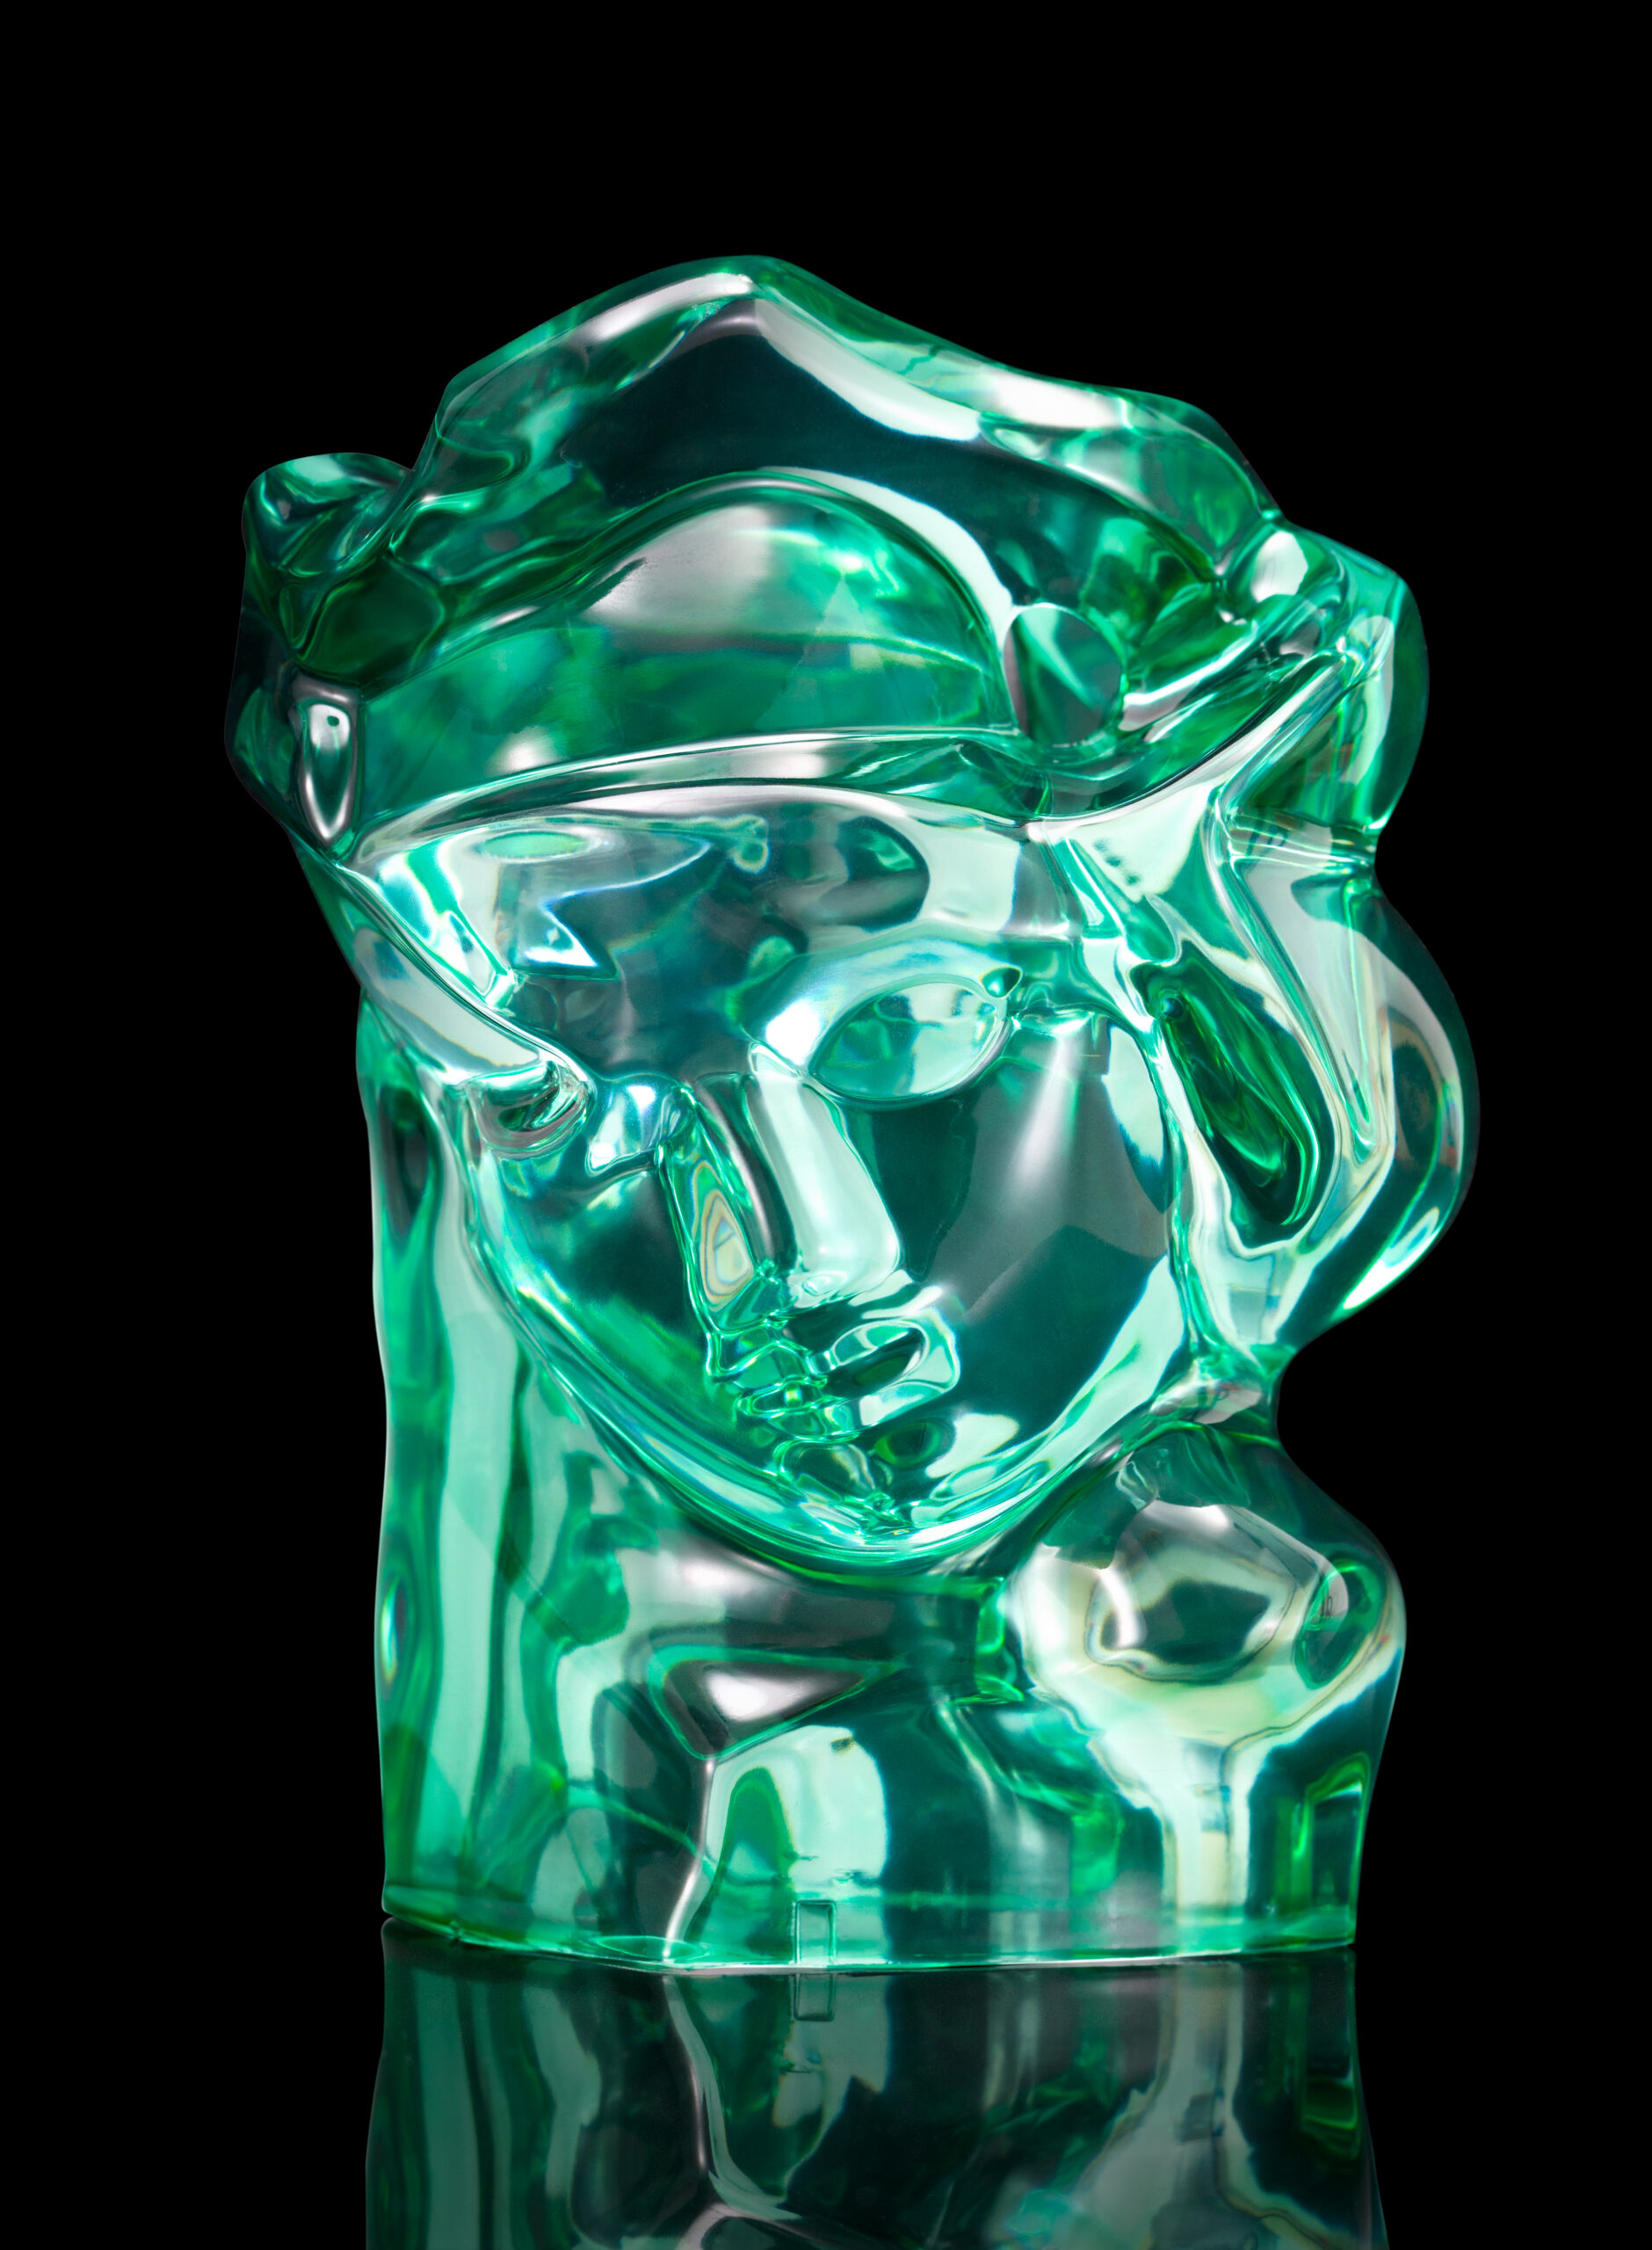
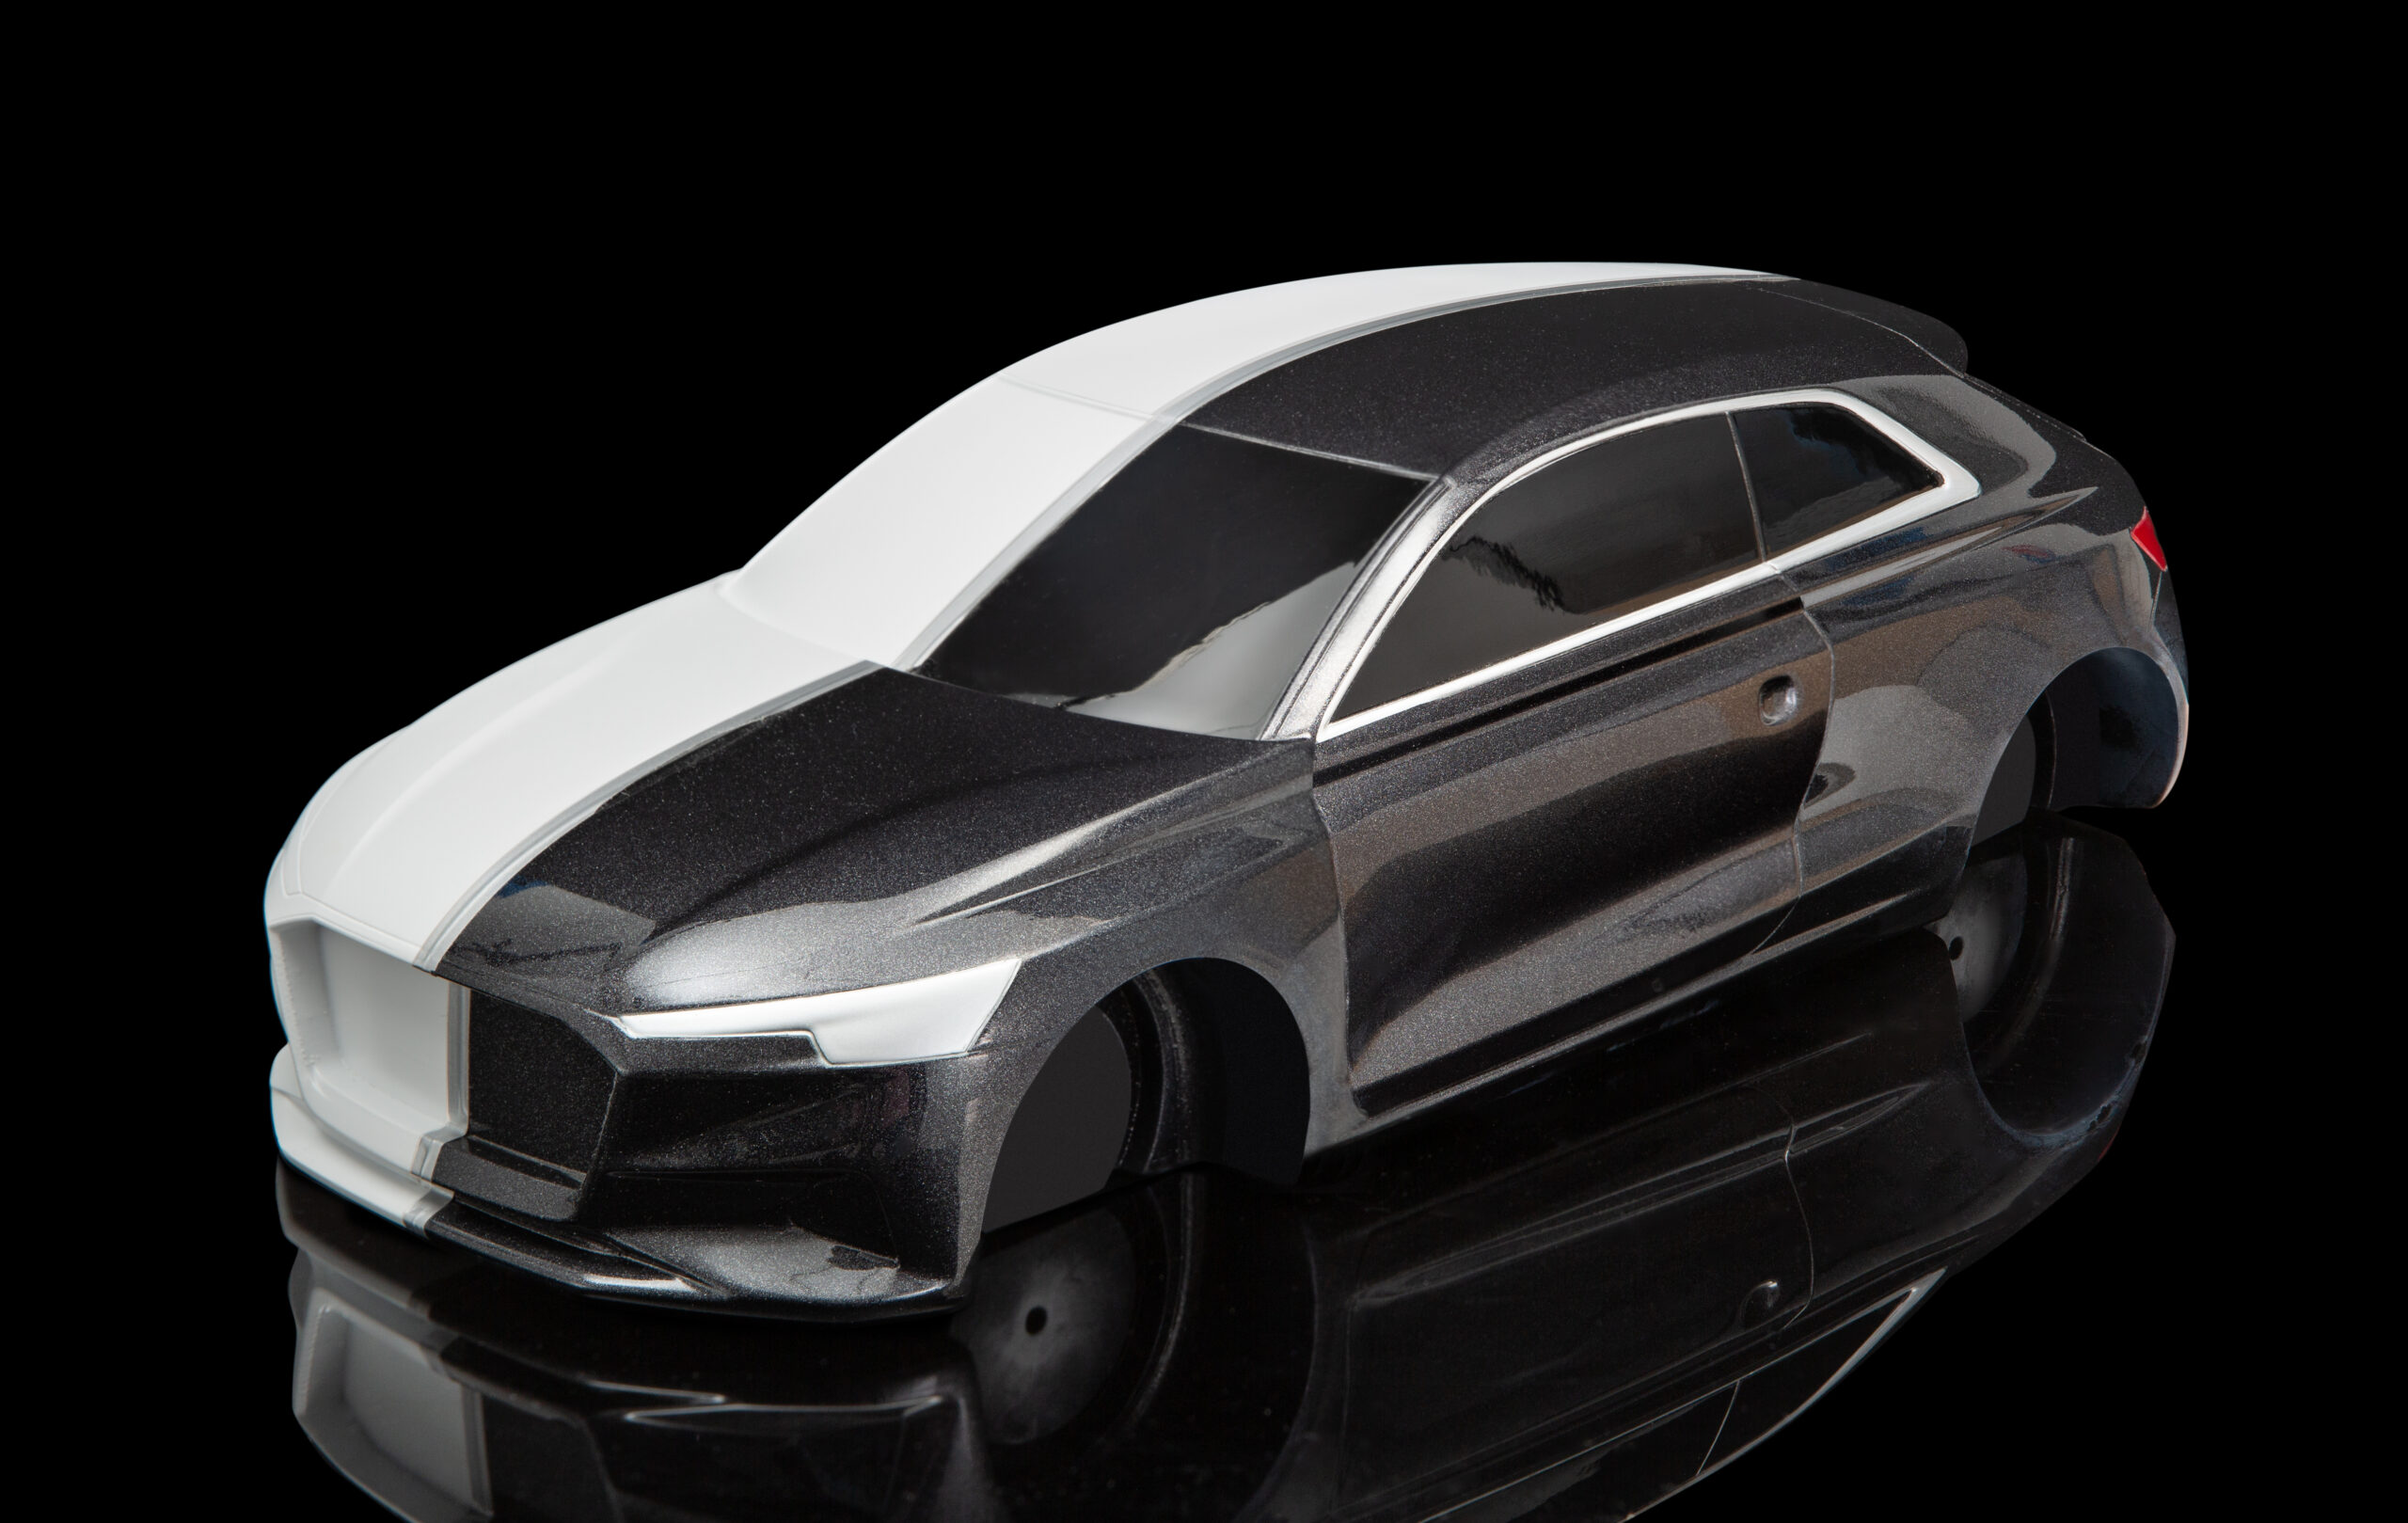
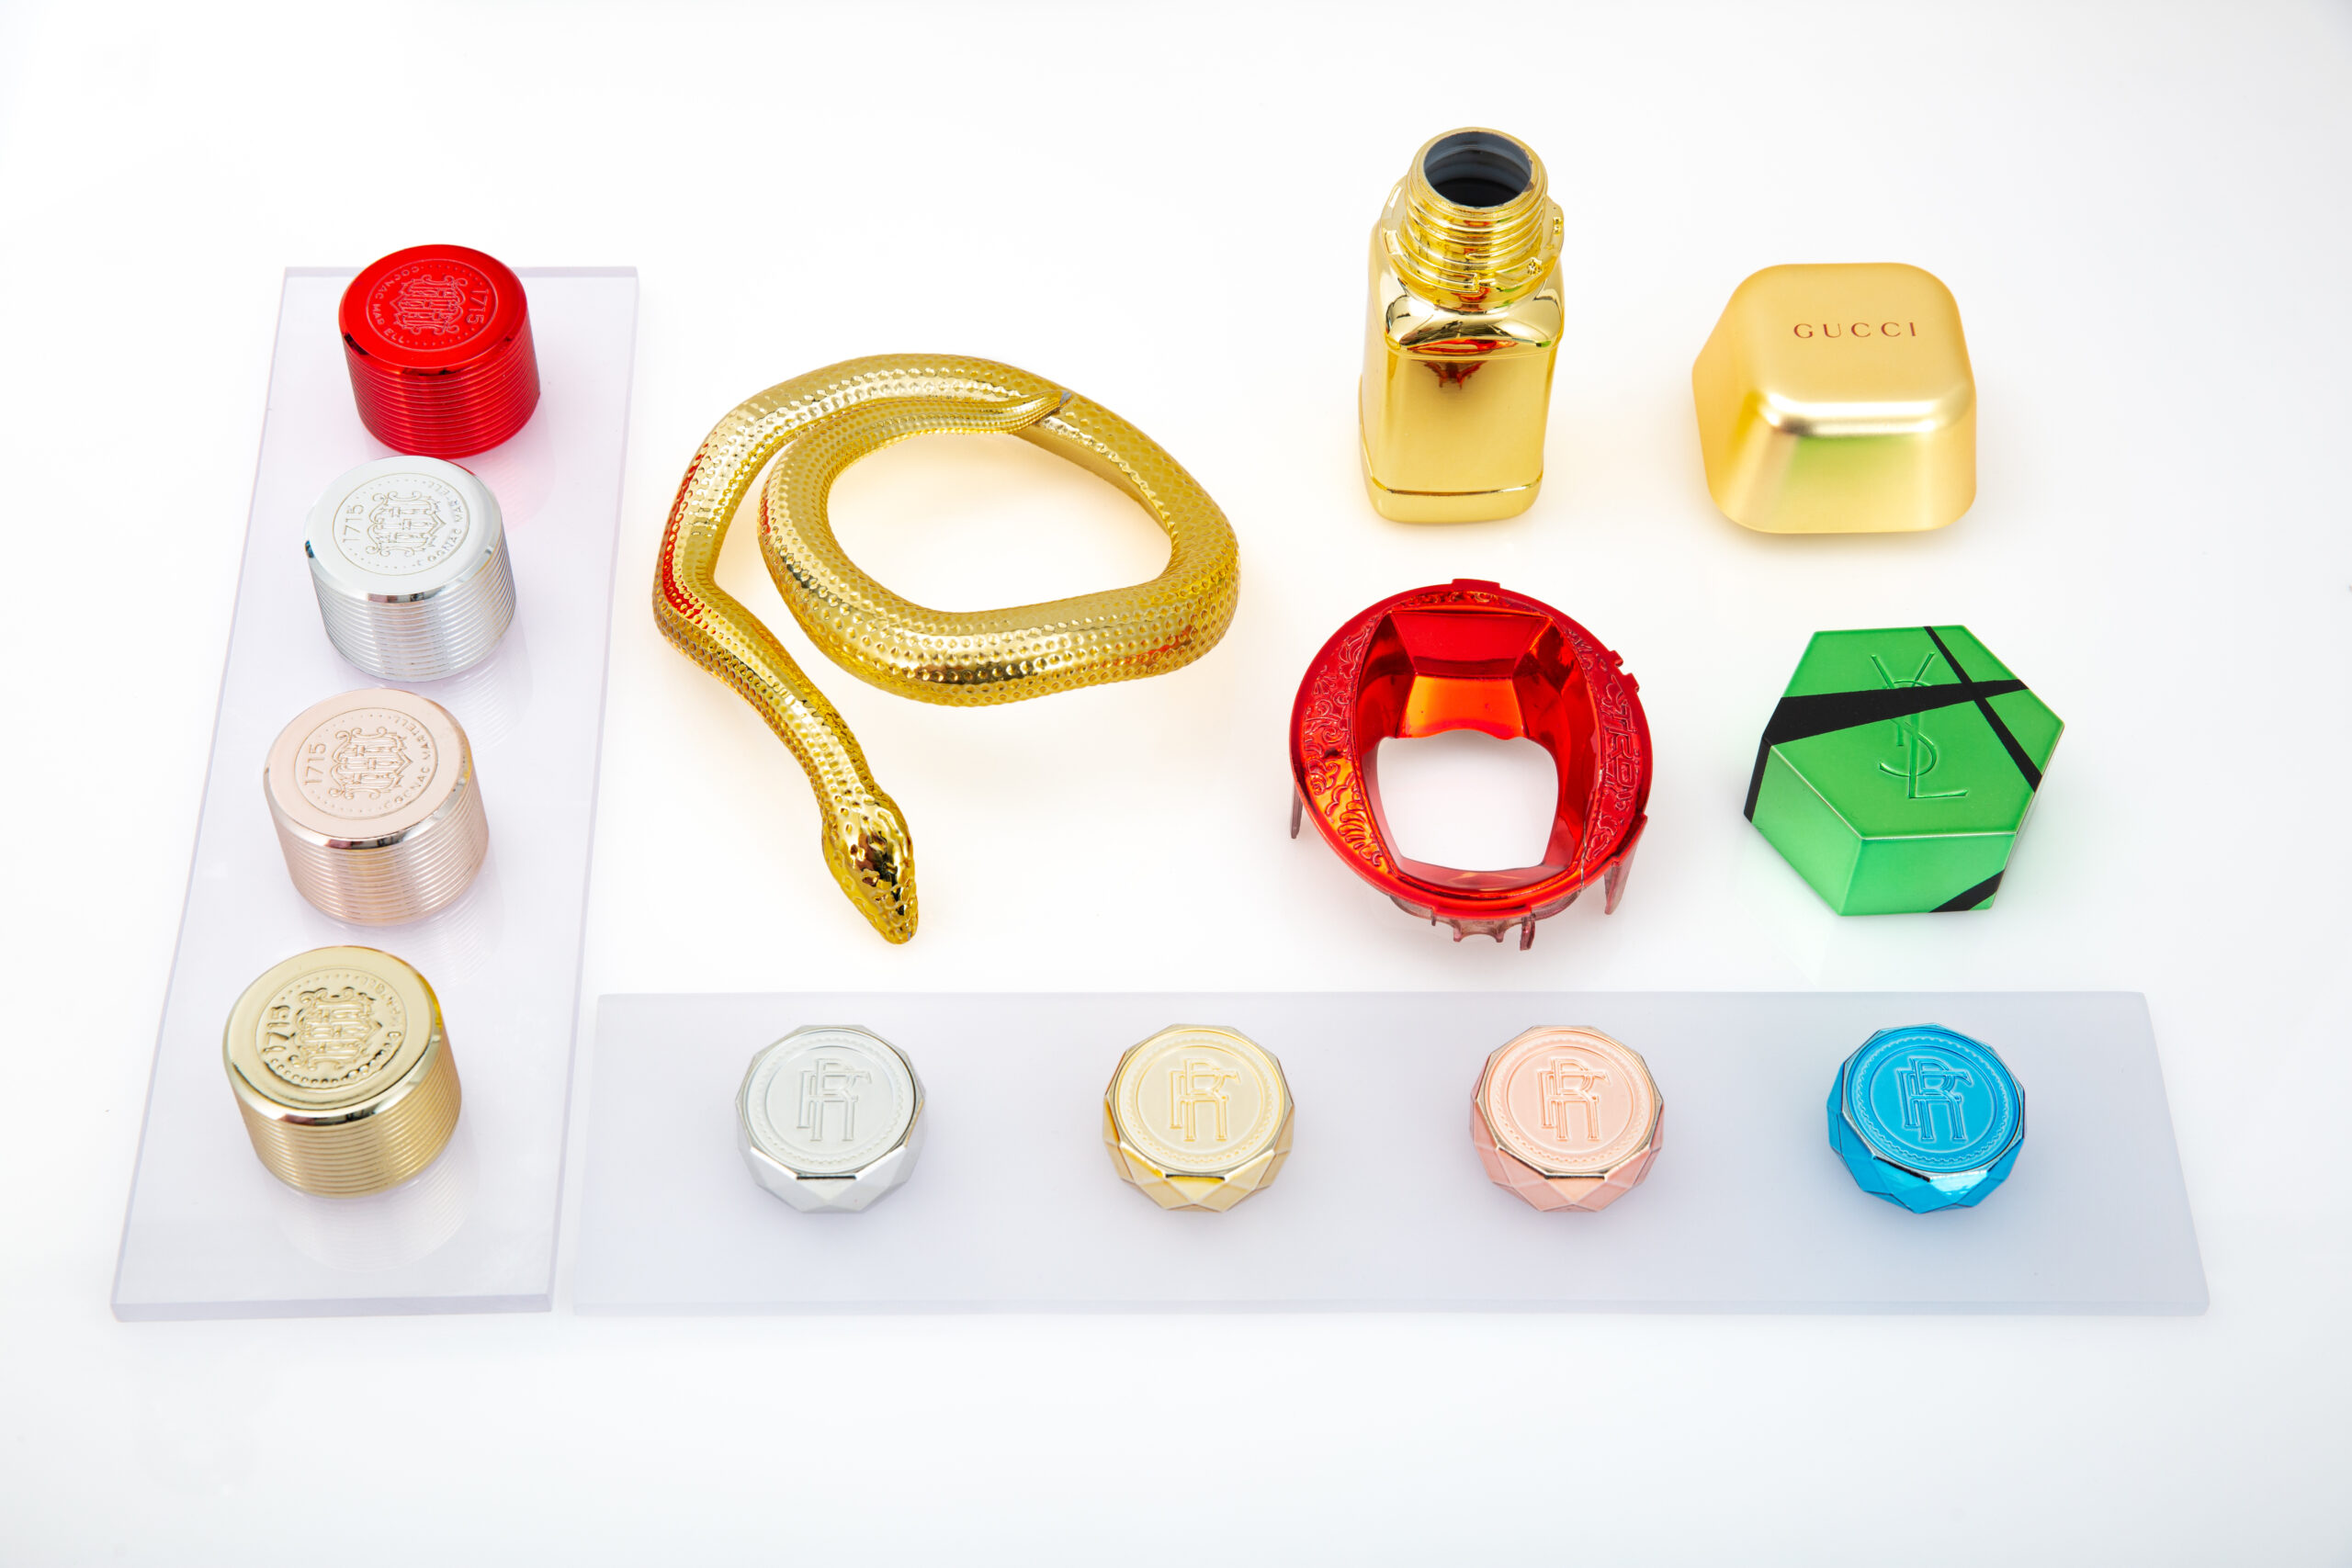
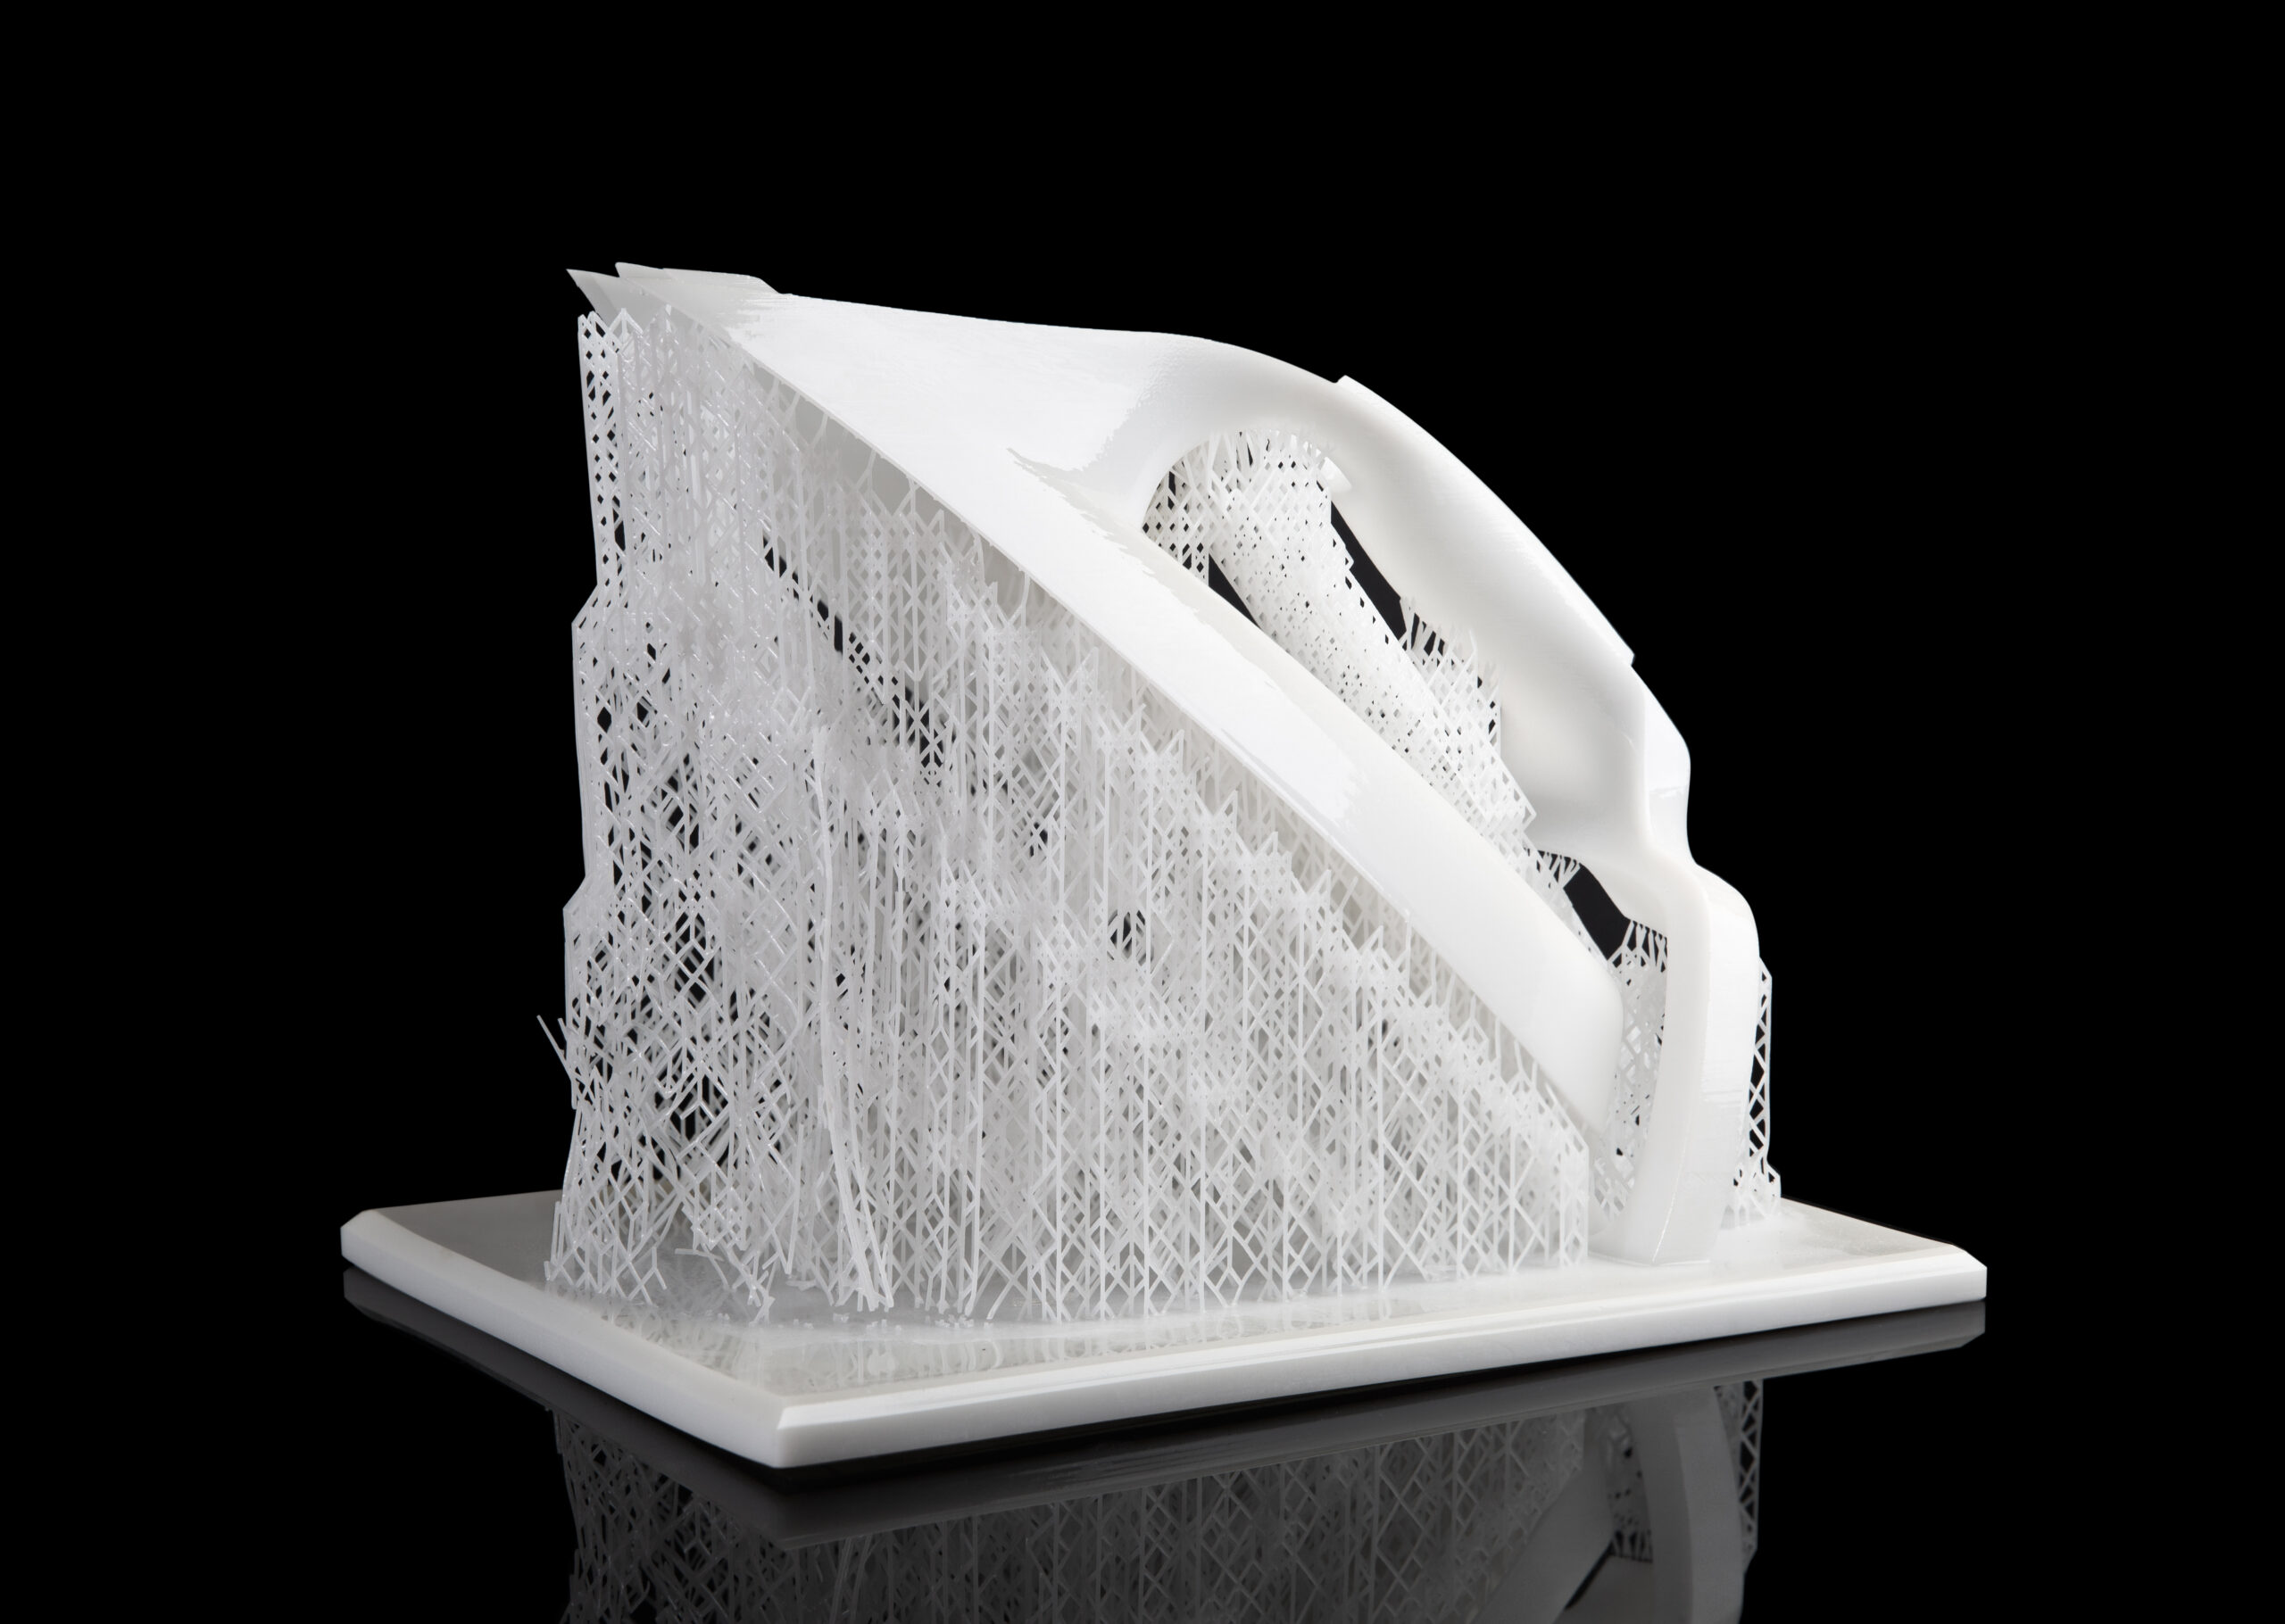
Stereolithography (SLA) is a rapid prototyping technology that consists in manufacturing parts by adding material from digital files. The materials used are light-sensitive liquid resins that solidify by means of ultraviolet light (UV).
The successive layers of 0.10 to 0.15 mm thus created will reproduce the shape of your part, with a quality almost equivalent to plastic injection. The stereolithographically printed part requires post-processing. It must first be cleaned with a solvent to remove the uncured resin residue and then put in the oven to complete the cure to maximize the strength of the material.
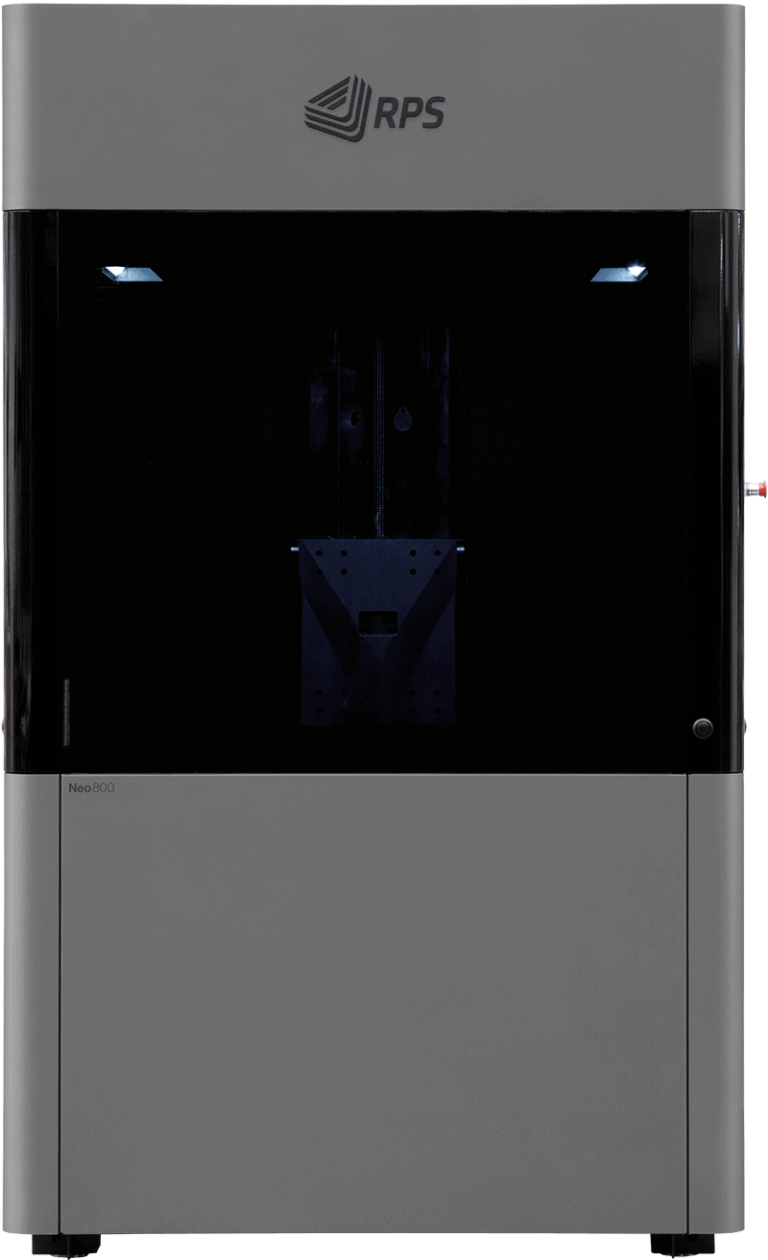
Axis is equipped with several SLA 3D printers to meet the growing demand of its customers.
The printing dimensions of our largest machine allow us to print parts up to 1500 x 750 x 550mm.
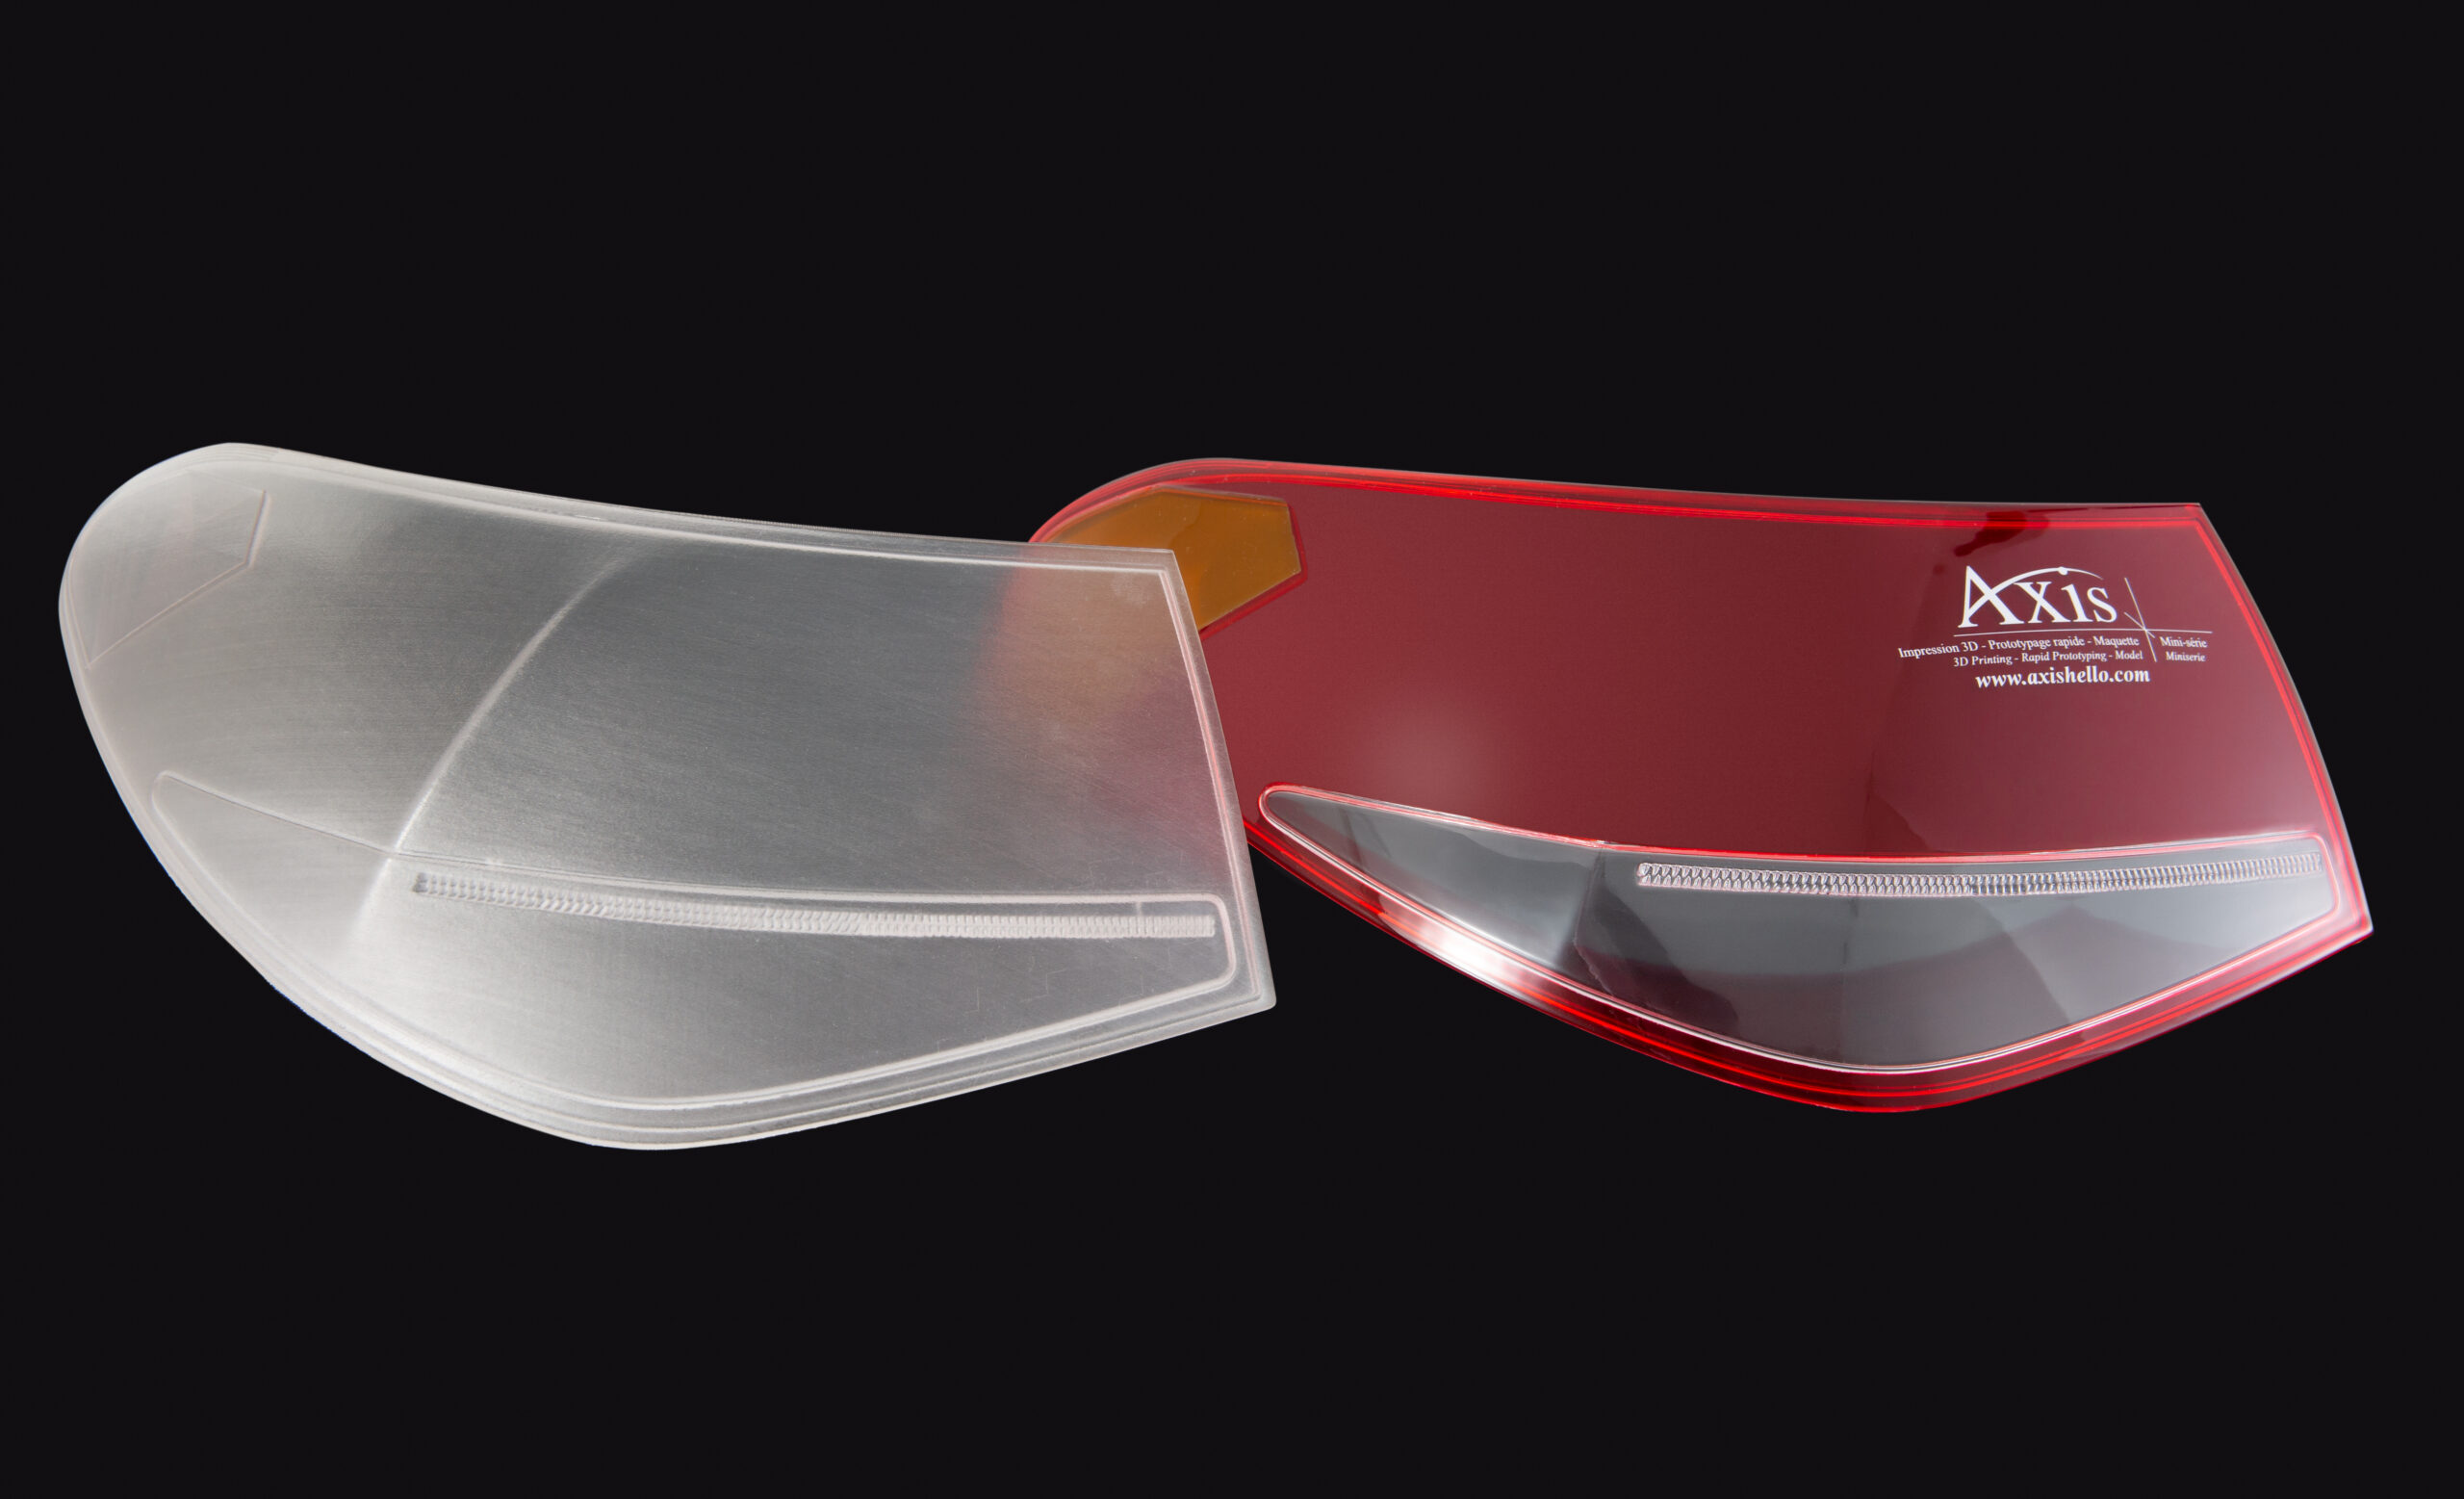
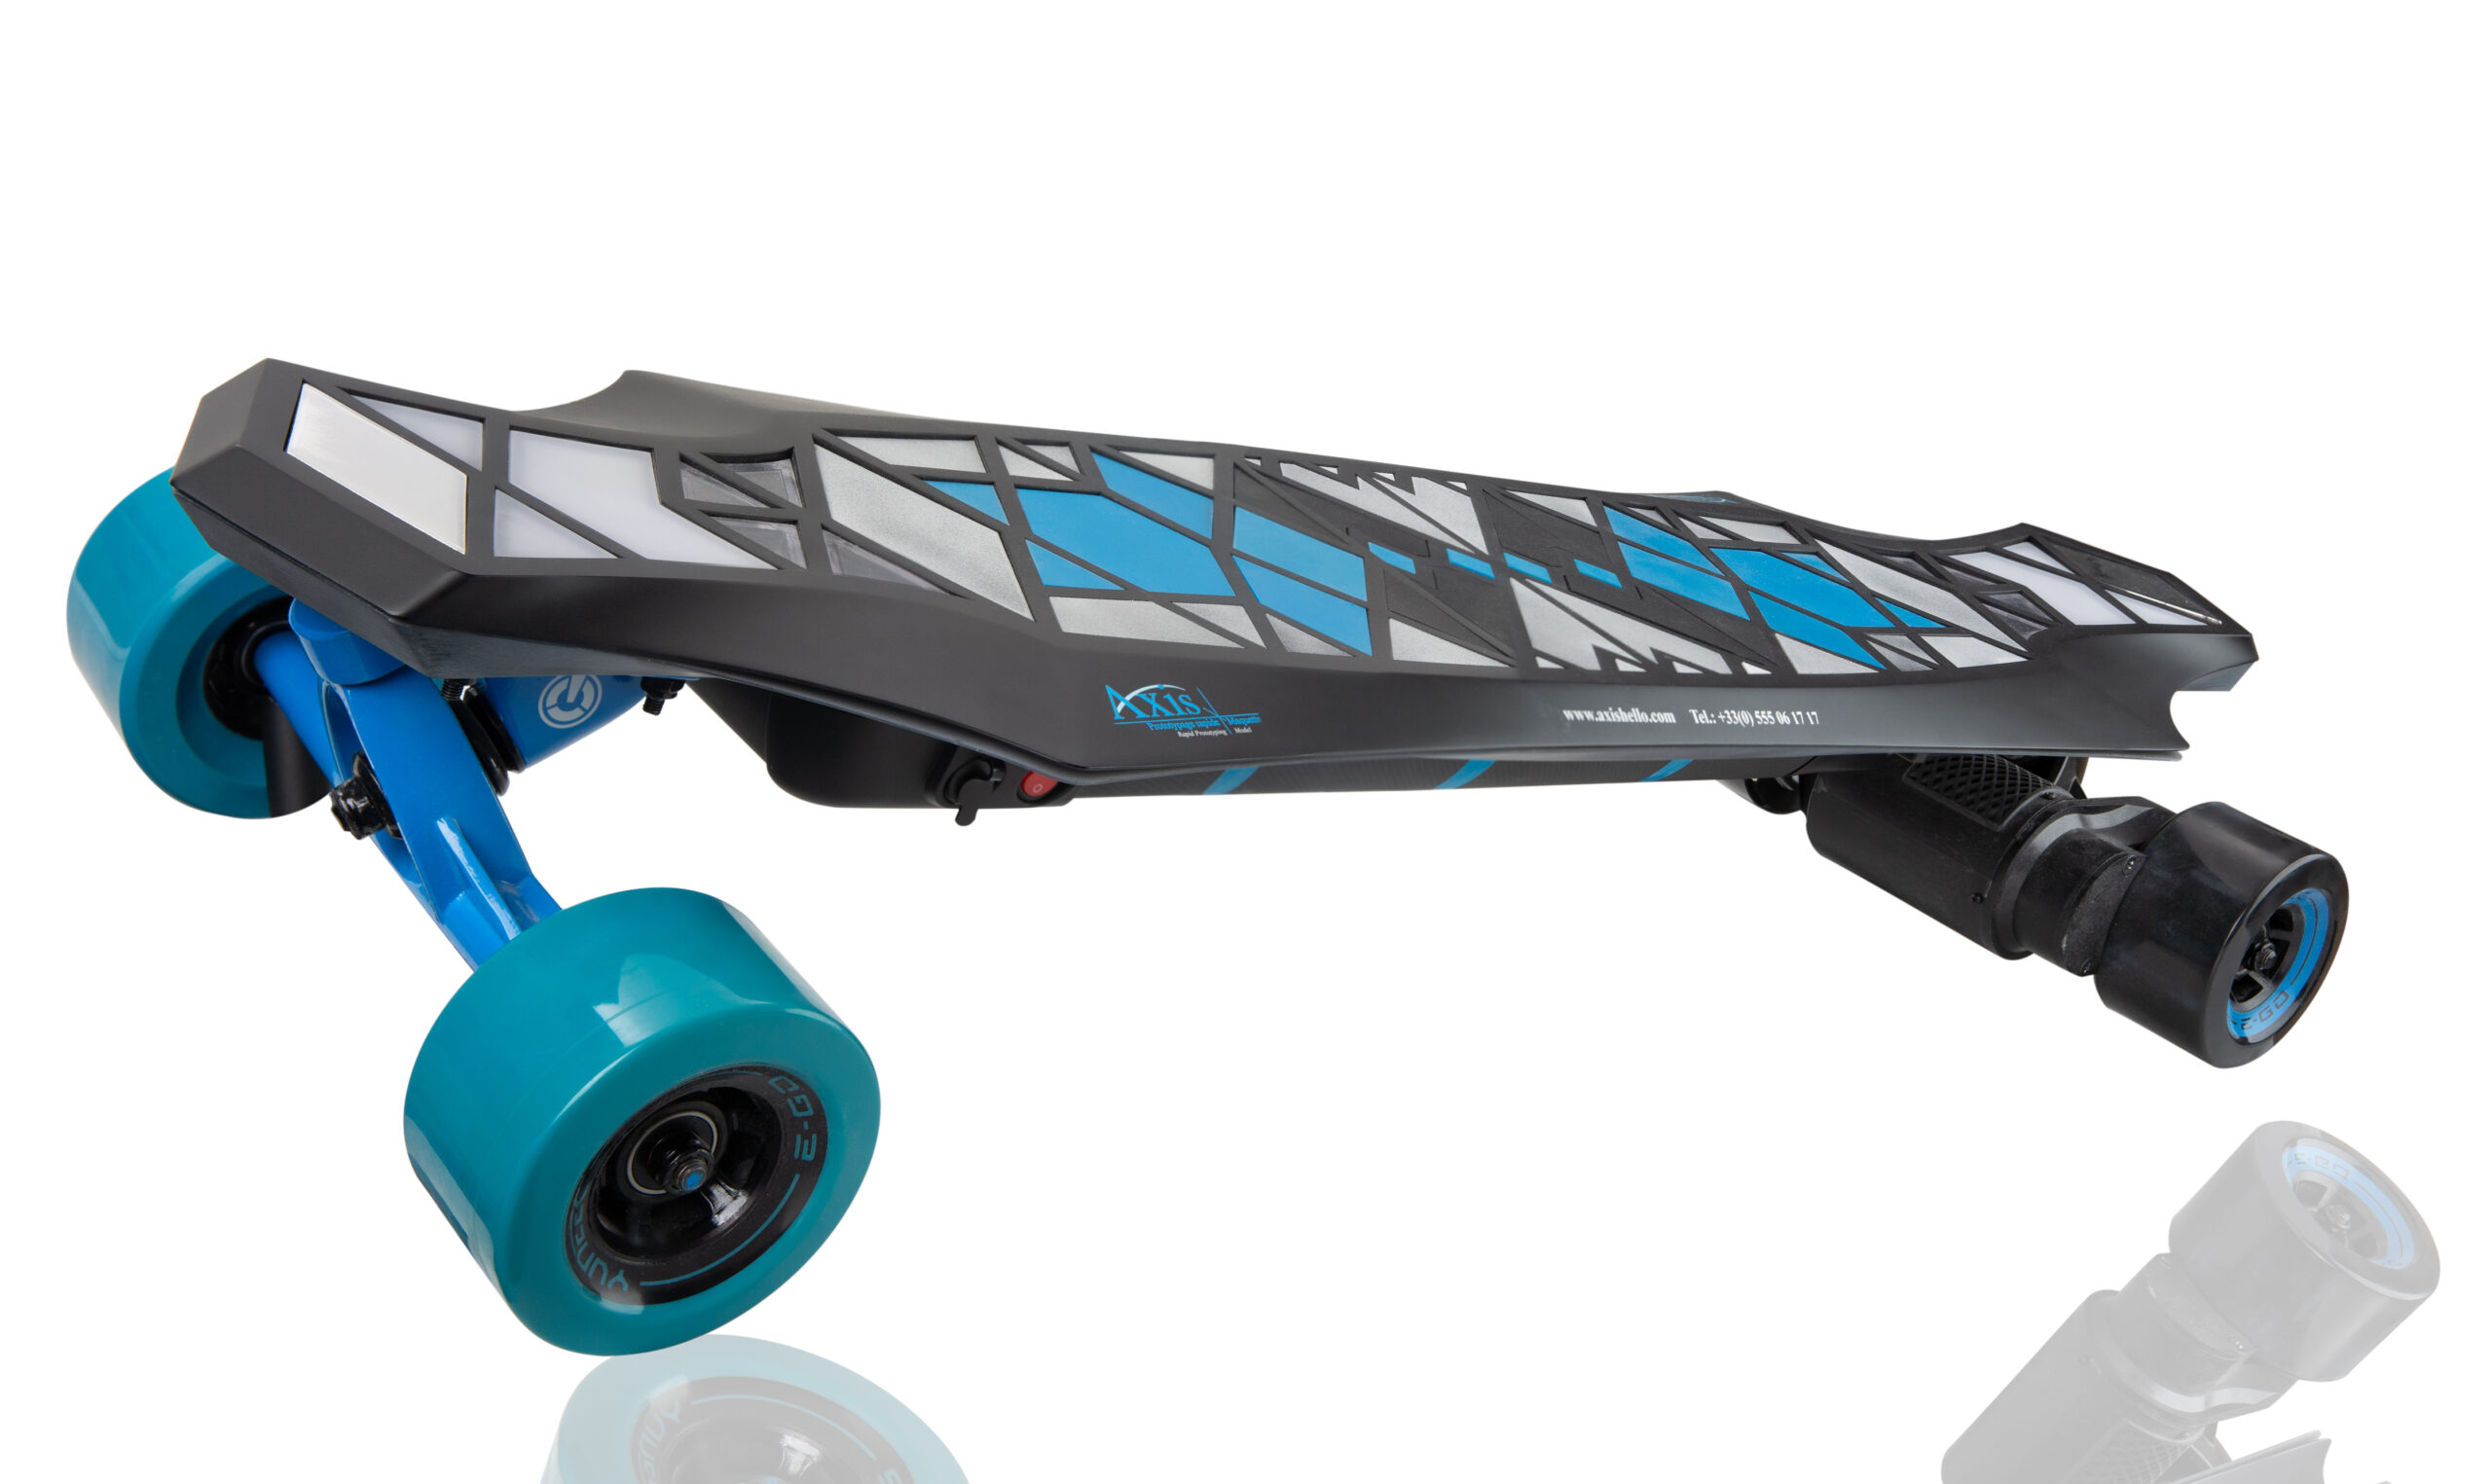
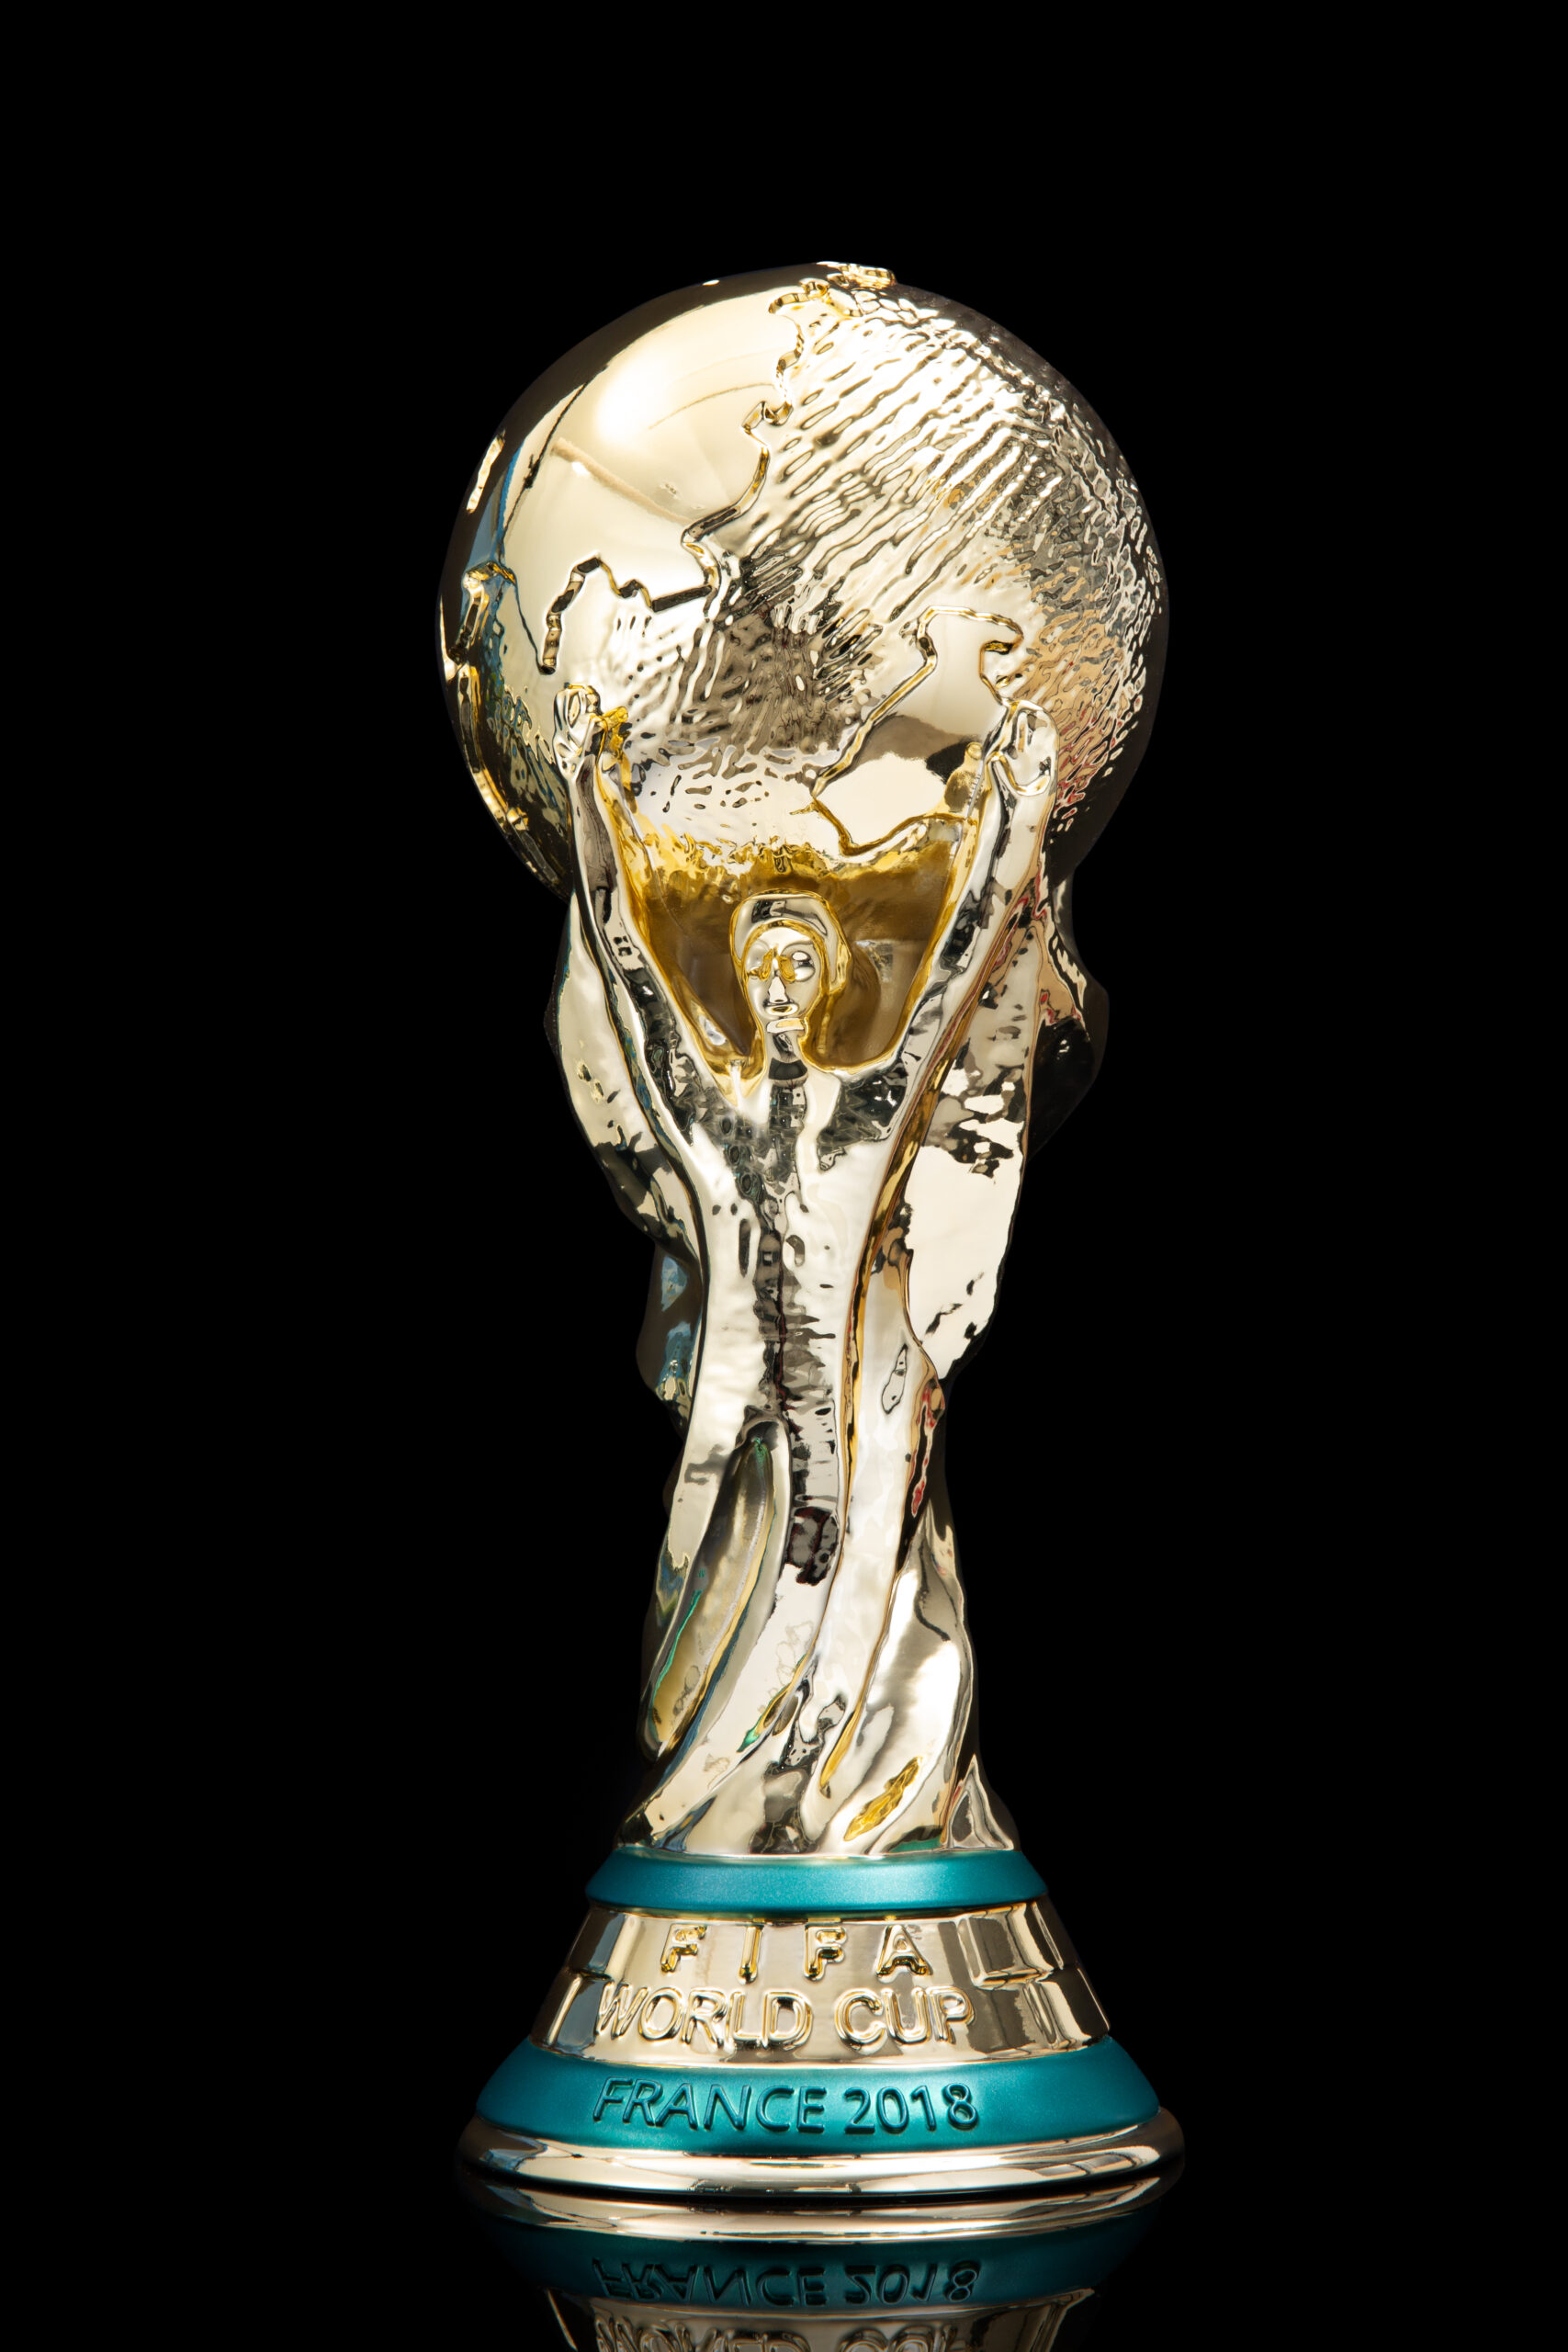
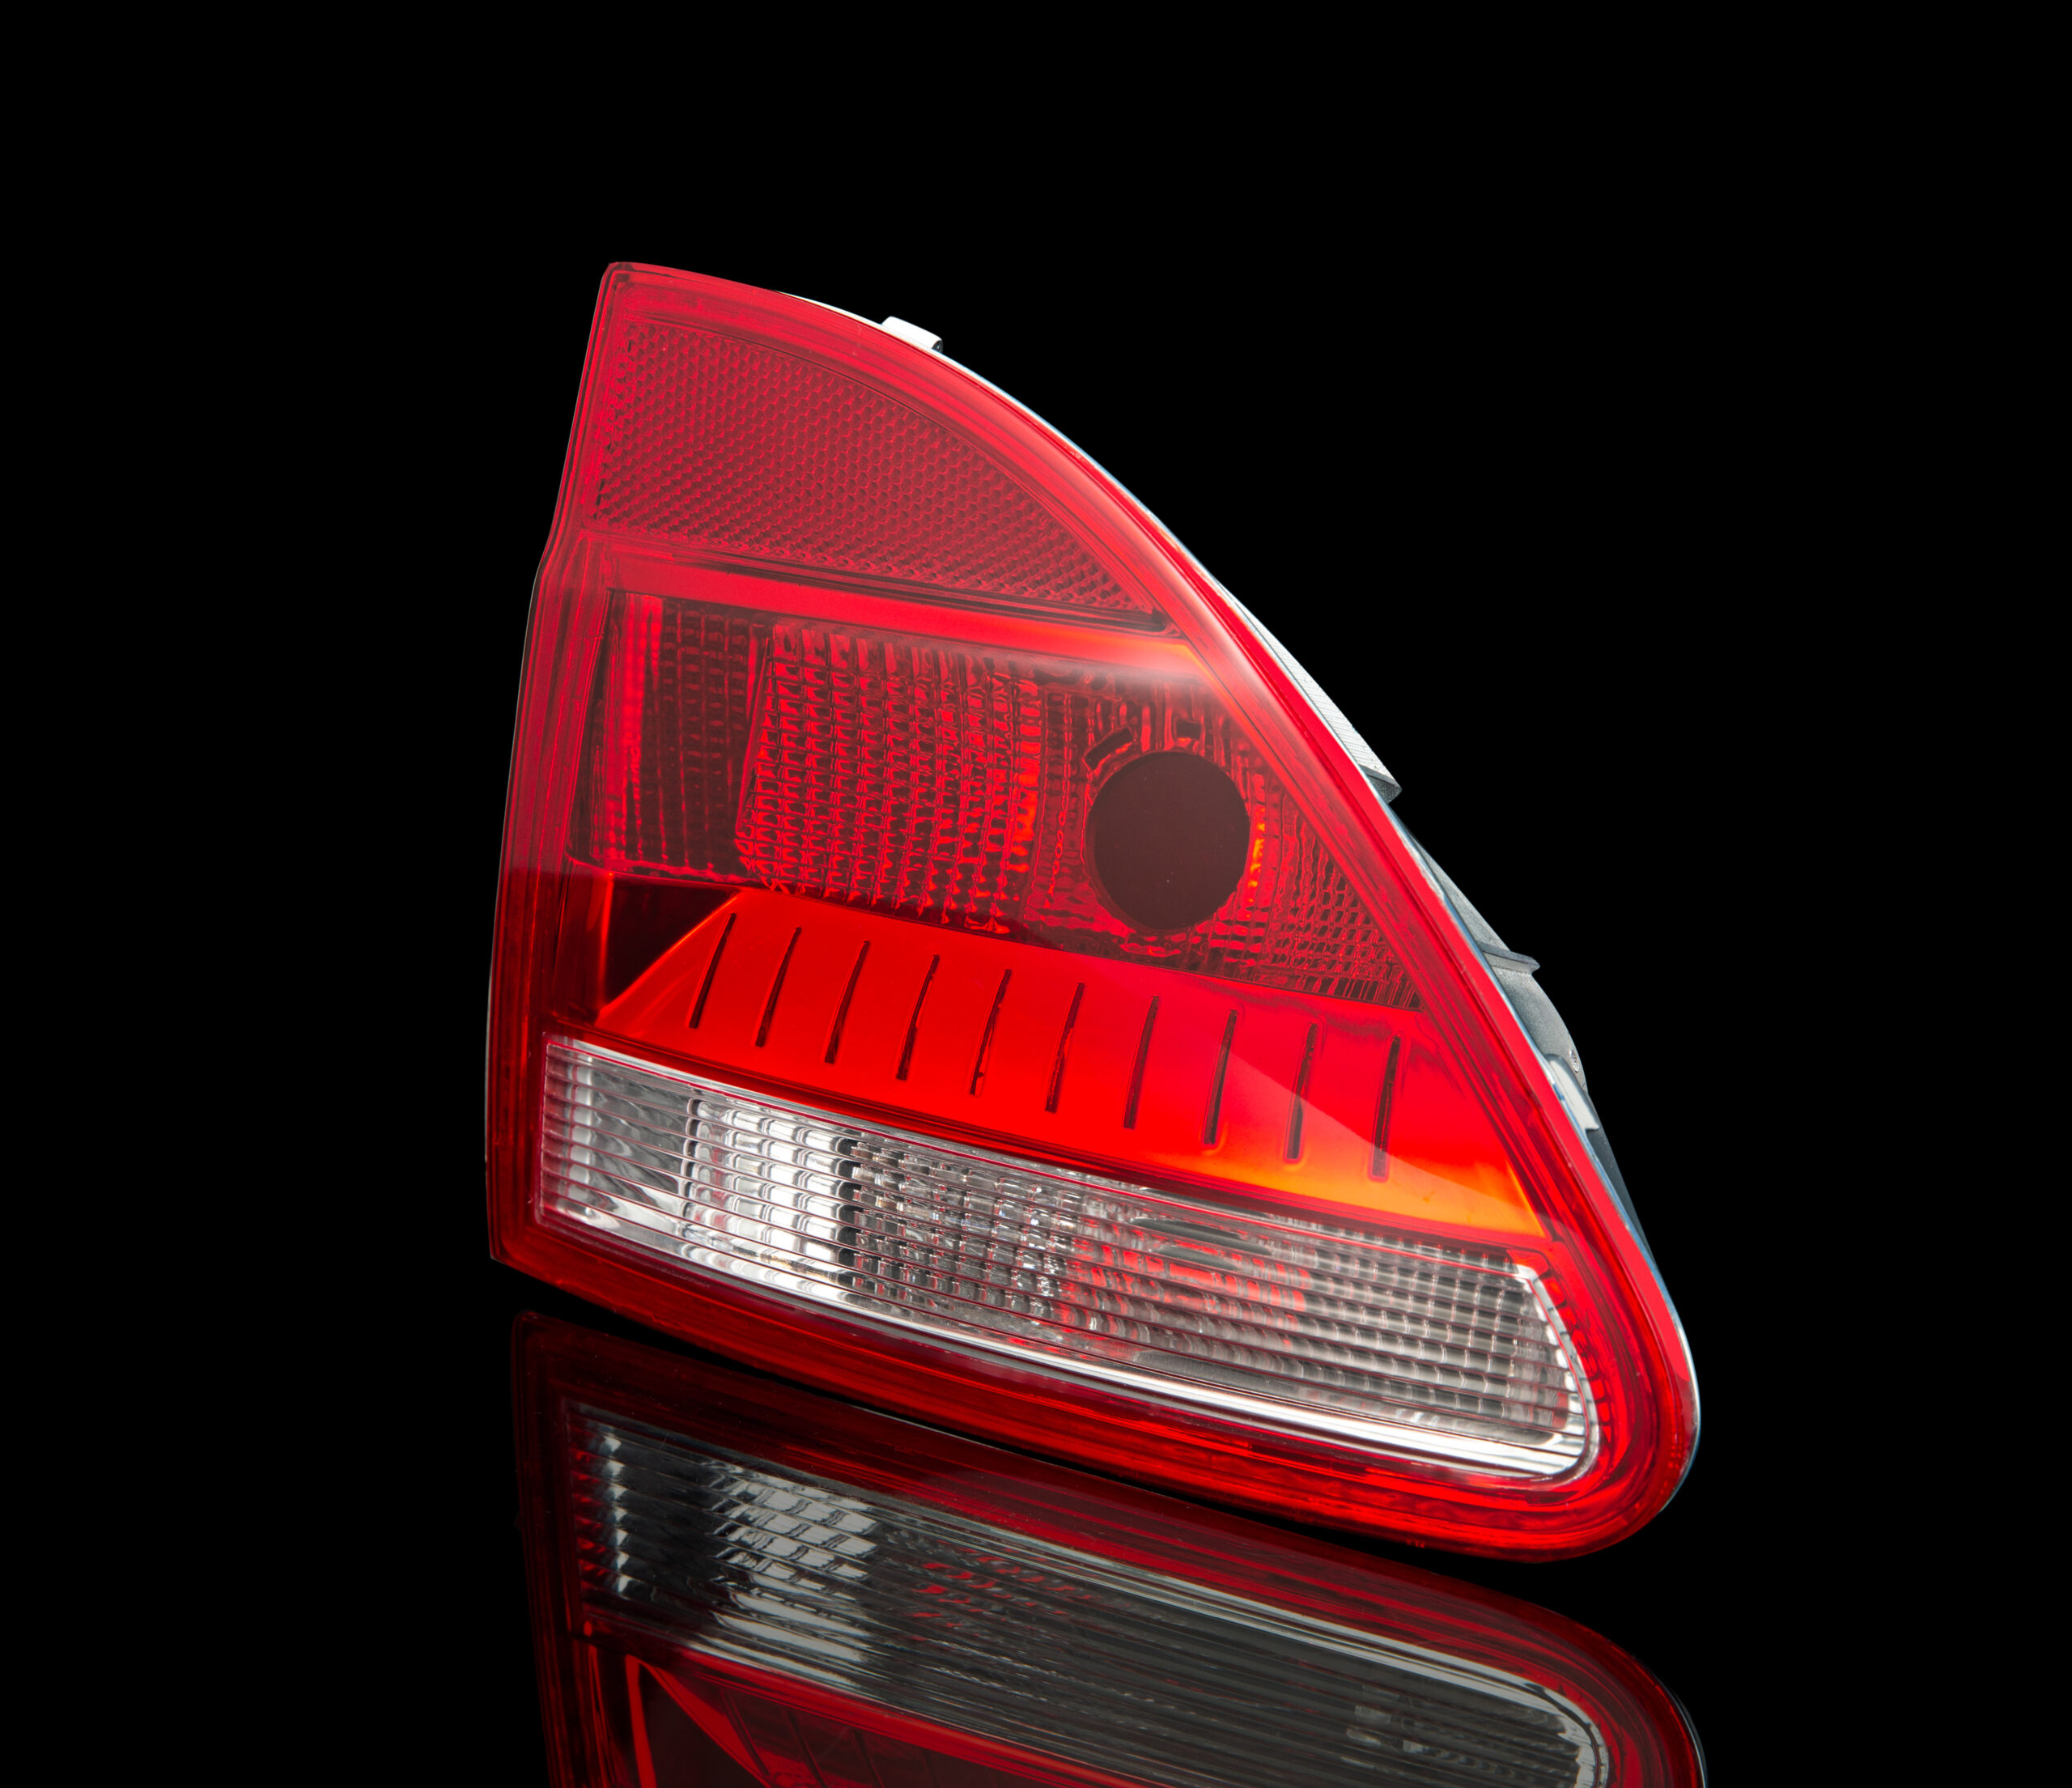
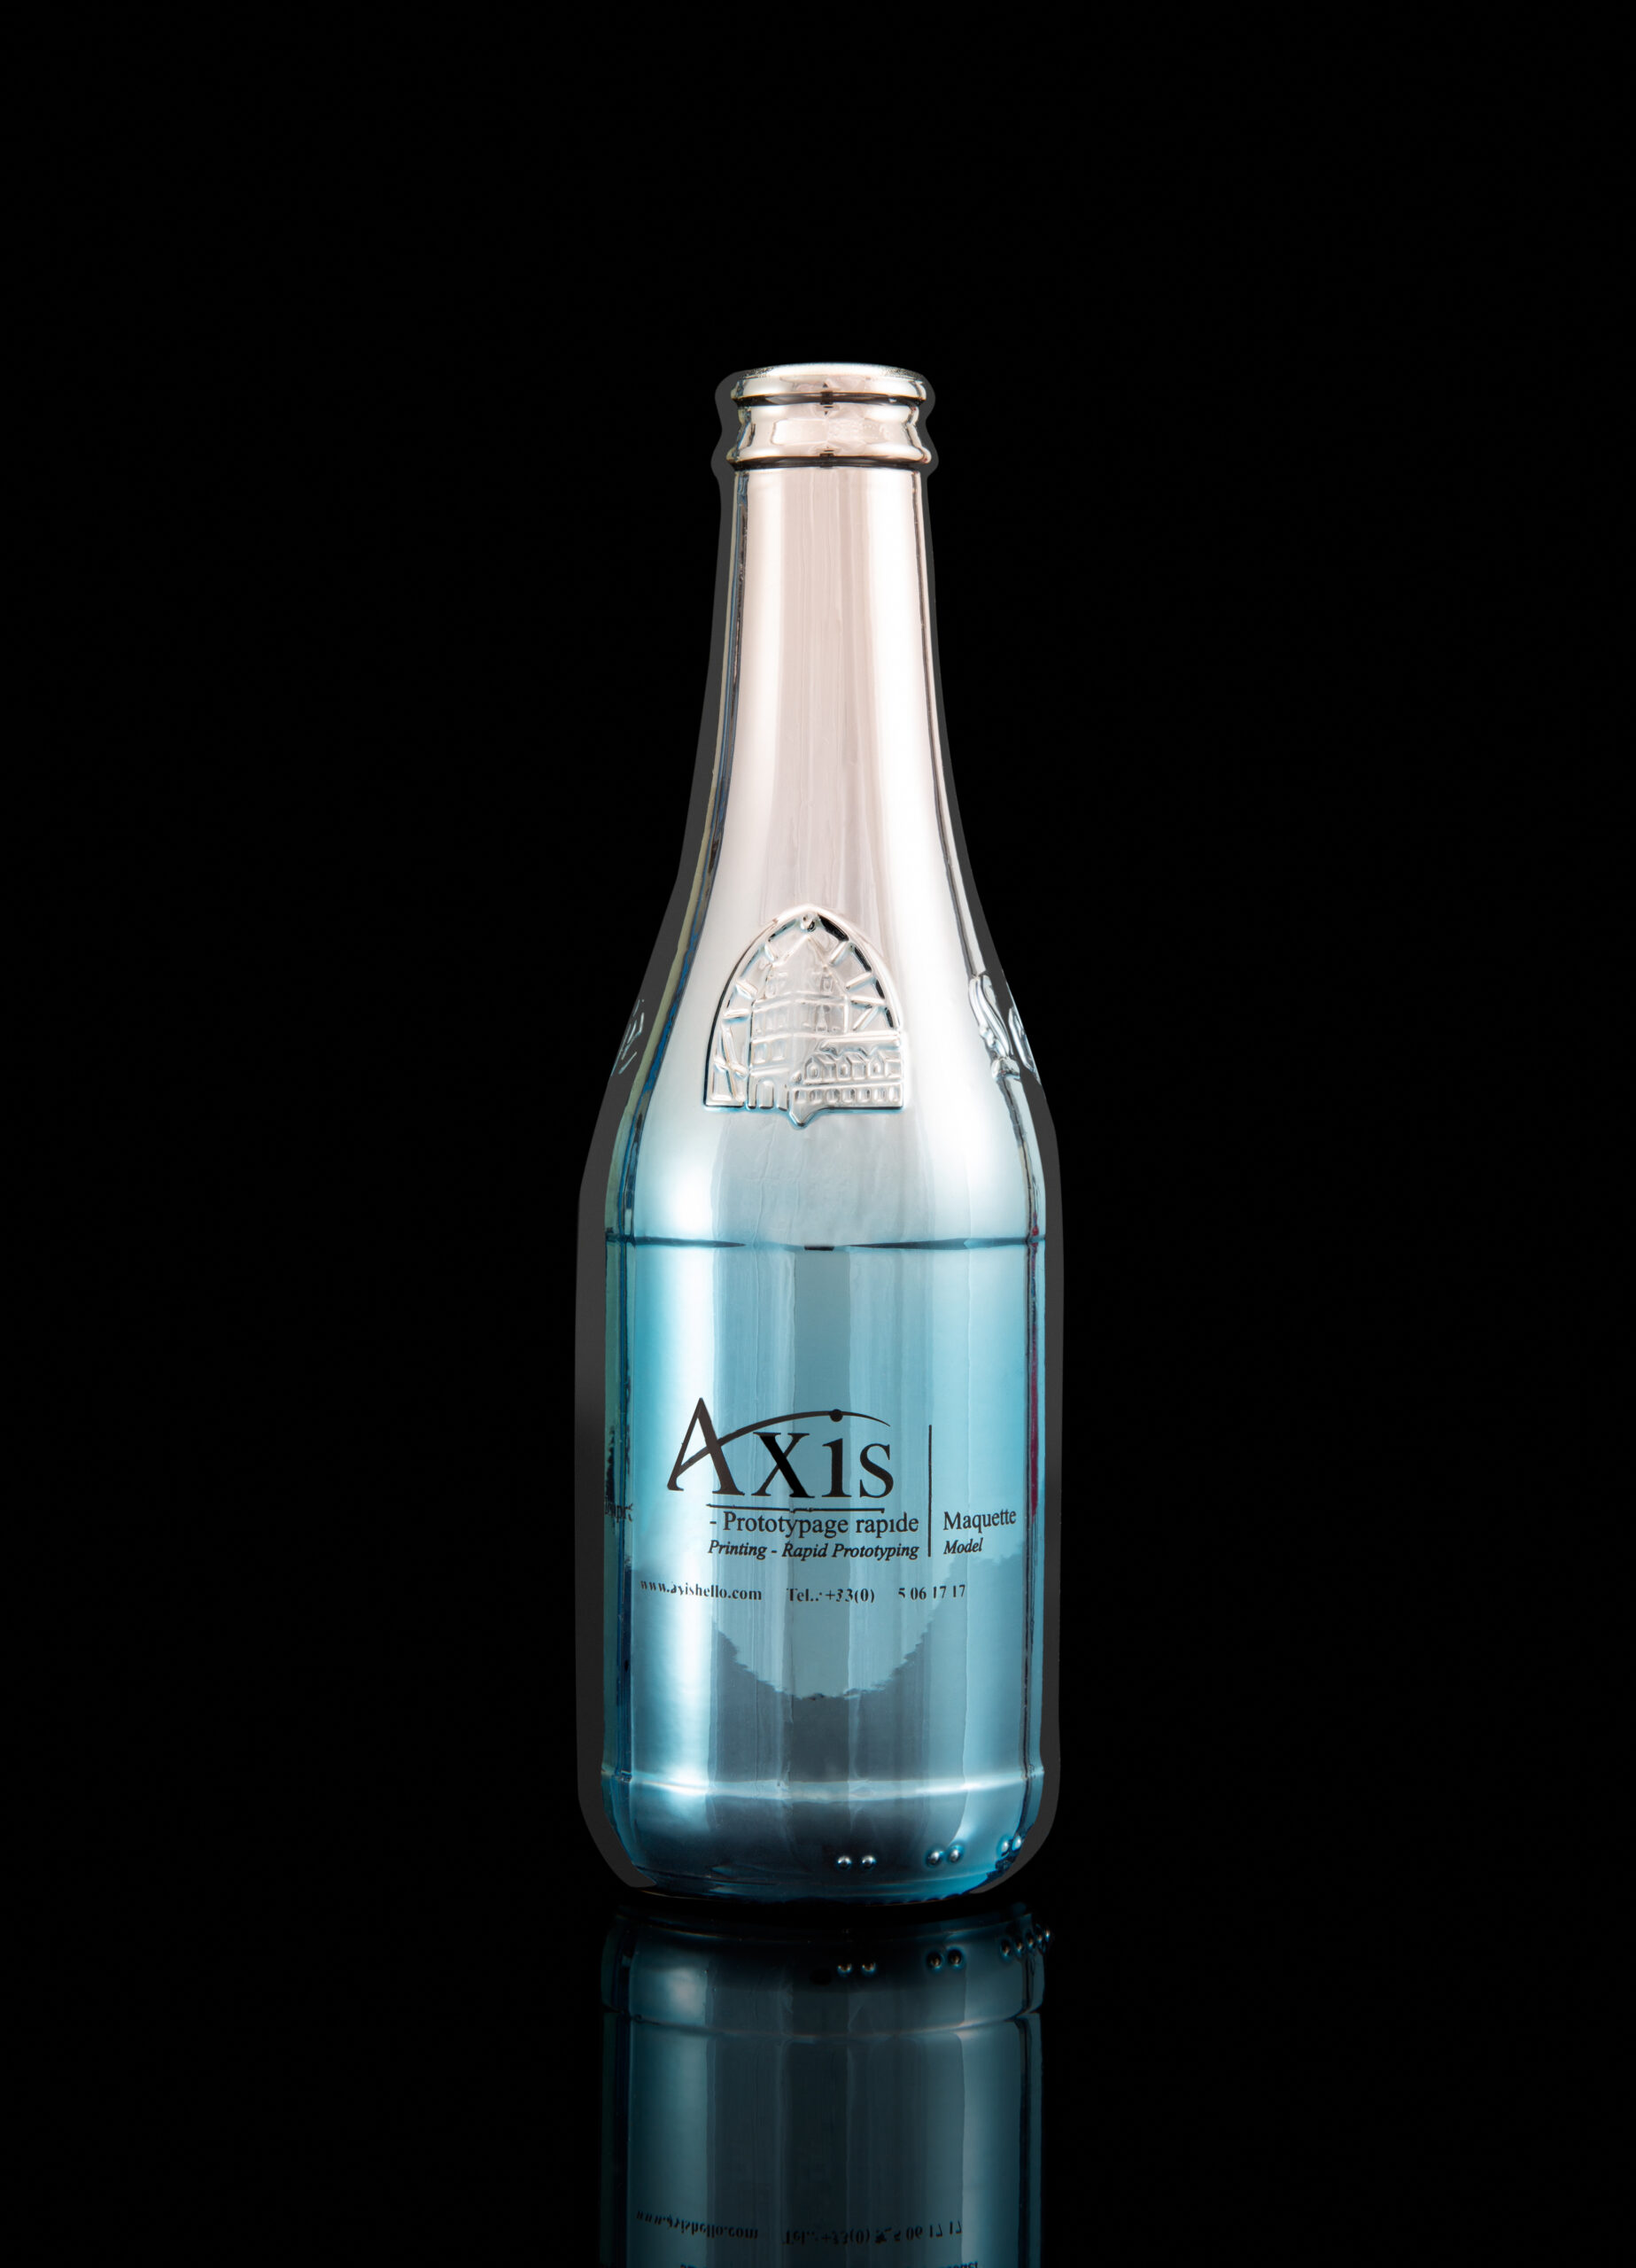
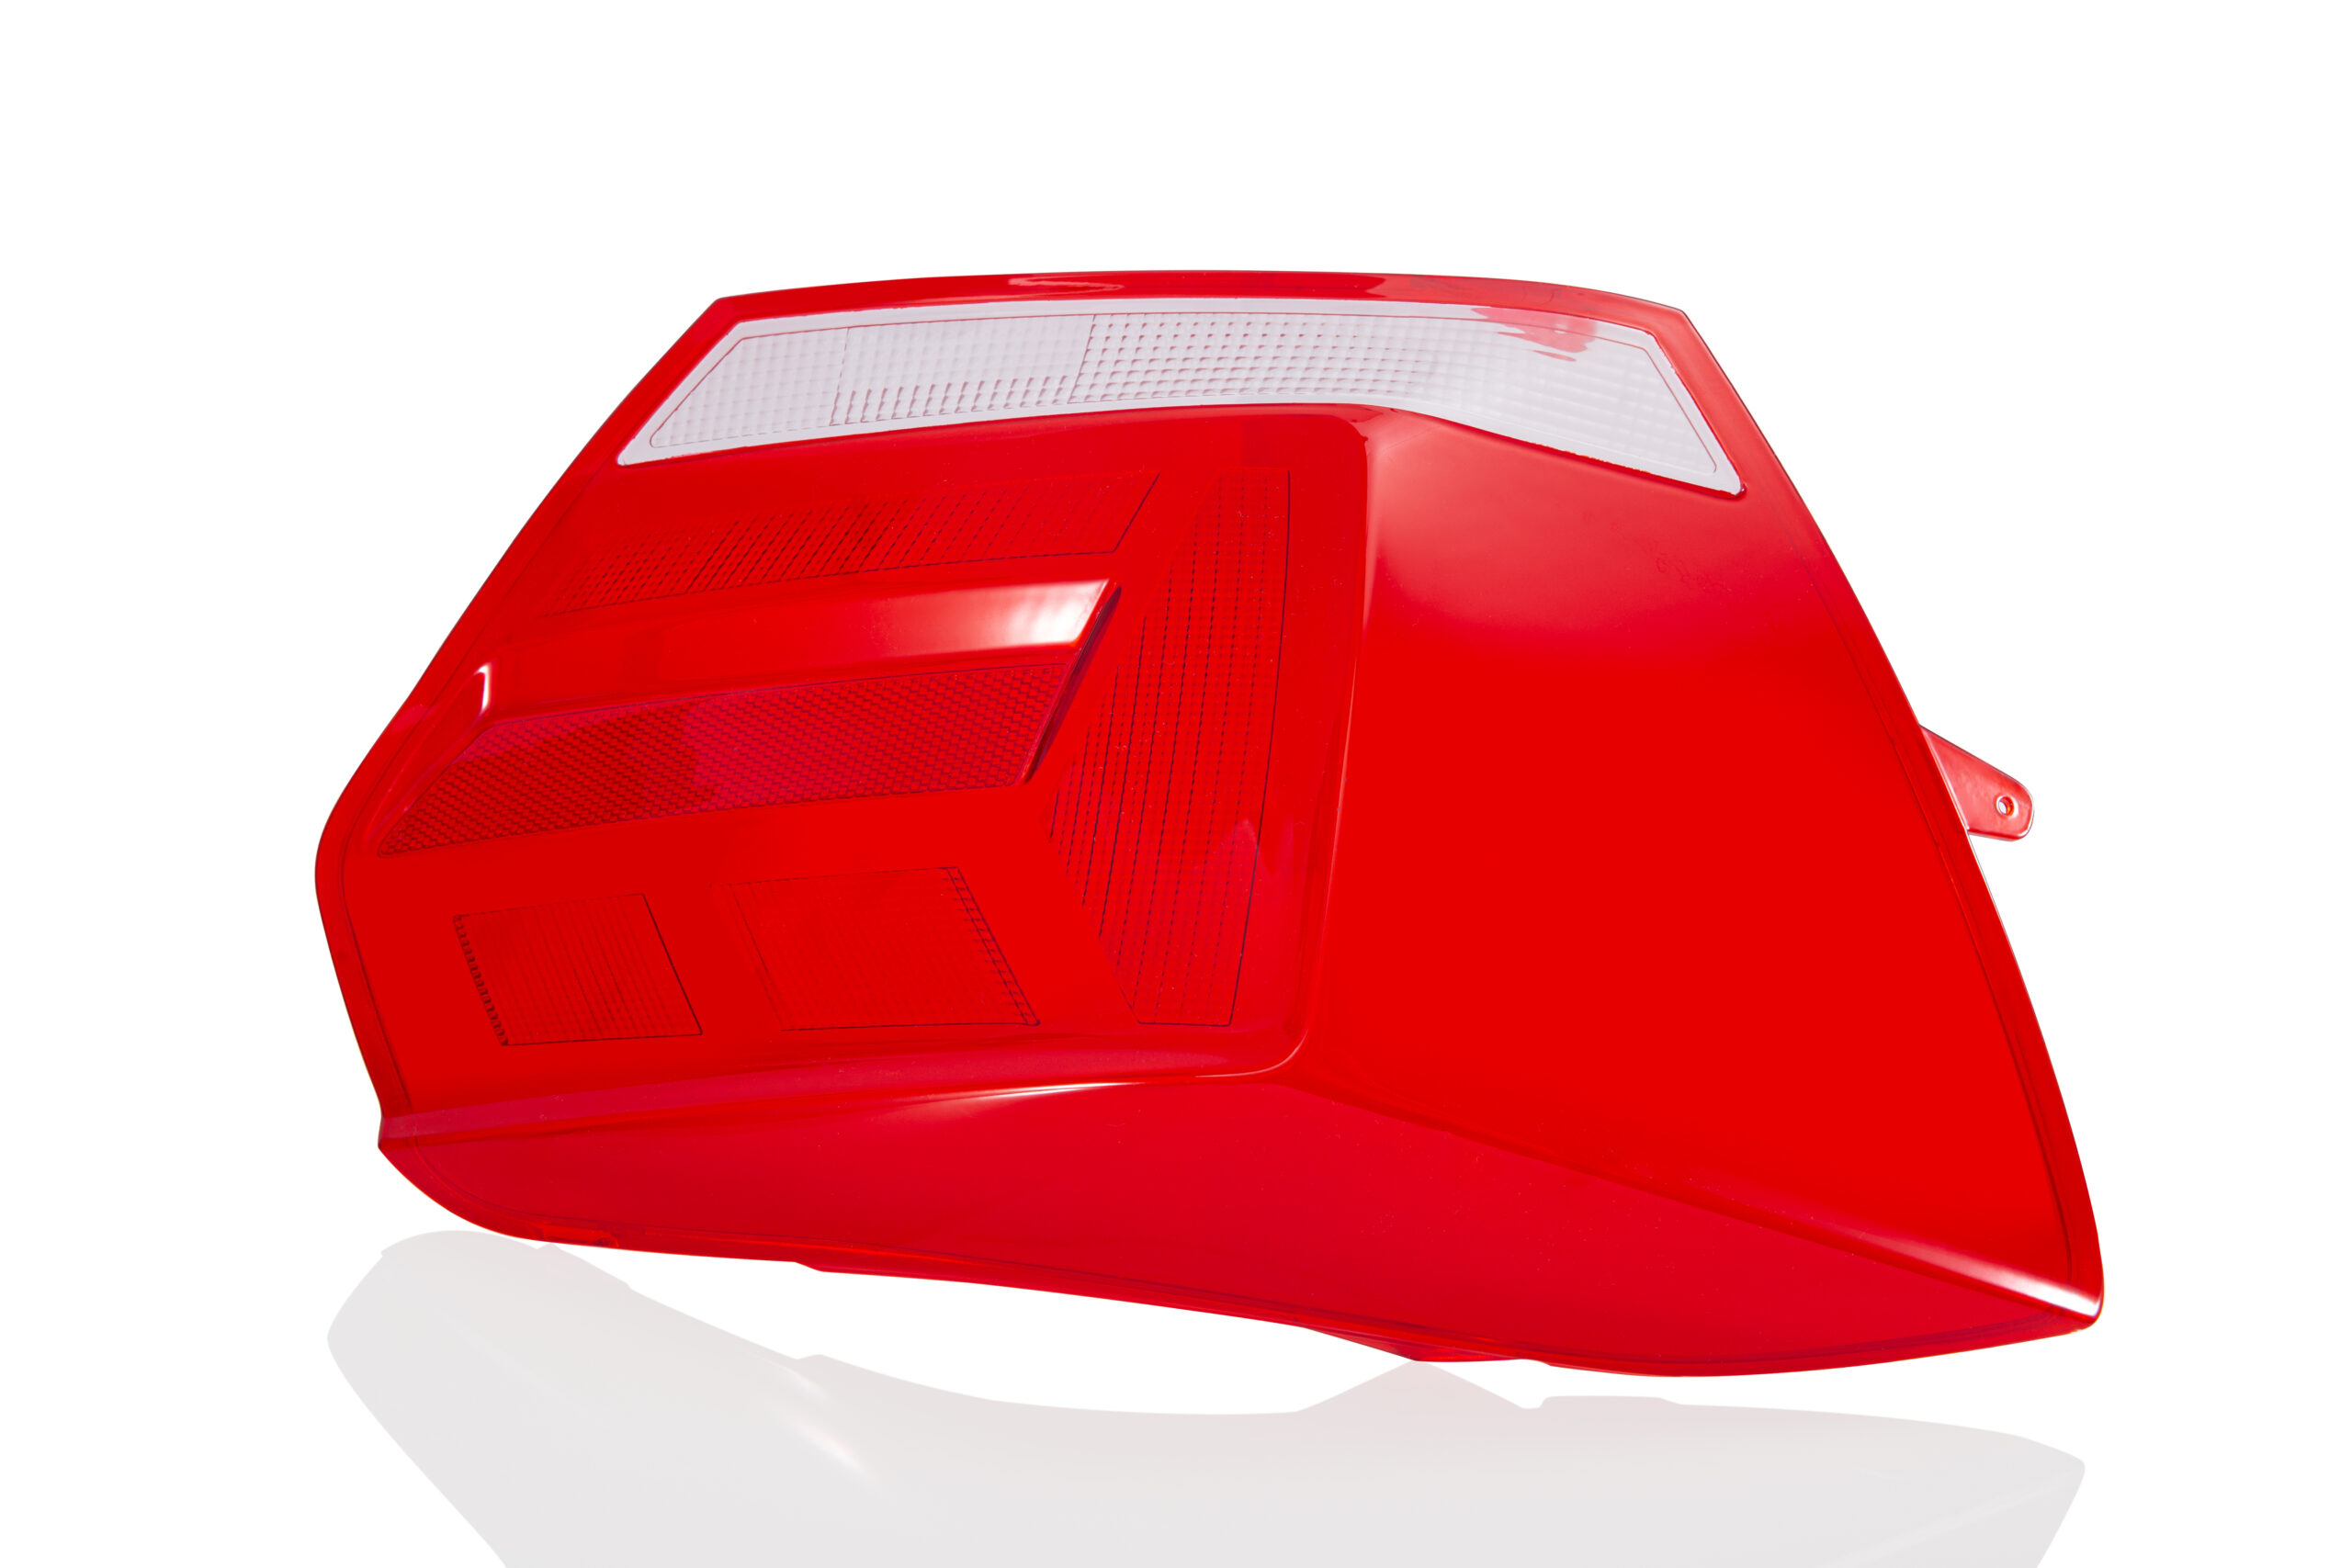
The benefits of this 3D printing technology
Stereolithography is a technology that allows an excellent finish (almost equivalent to plastic injection) to create parts for display or decoration very quickly (design prototype). The shapes can be complex and the materials can be opaque or transparent.
This makes it an ideal technology for :
- the models
- dimensional and geometric validation prototypes
- models for silicone molds and
RIM
- small production runs


ALS materials and finishes
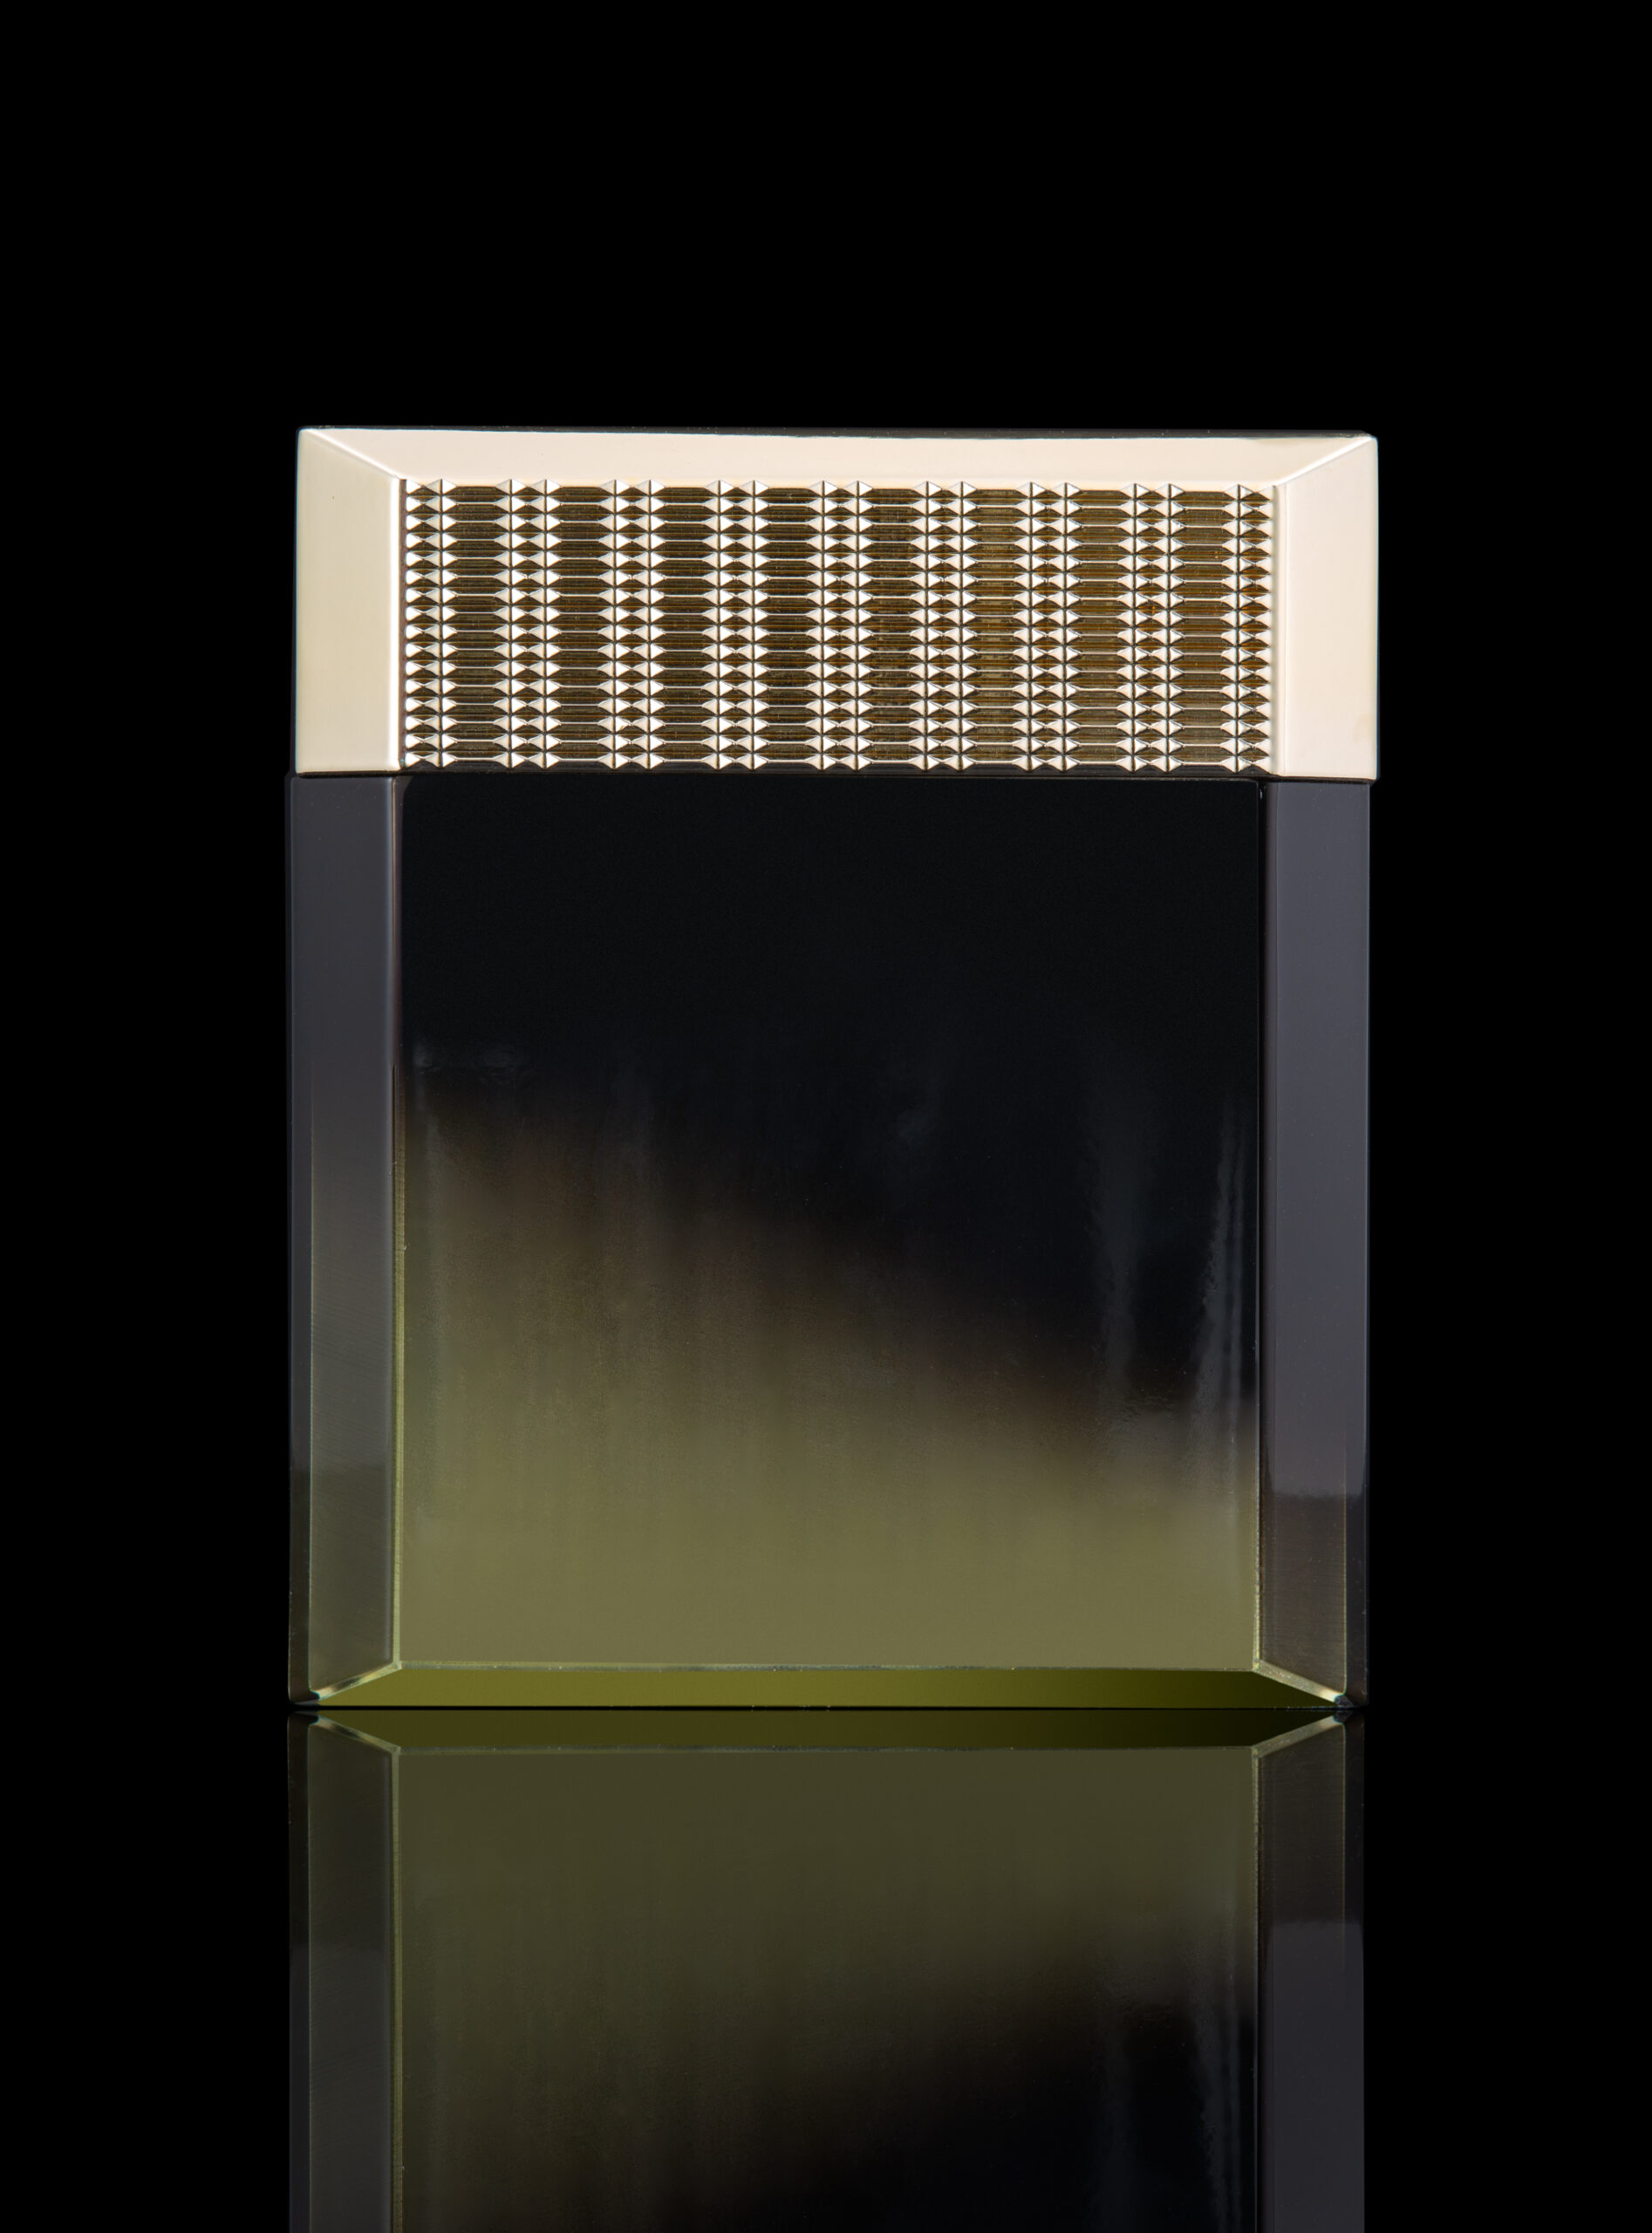
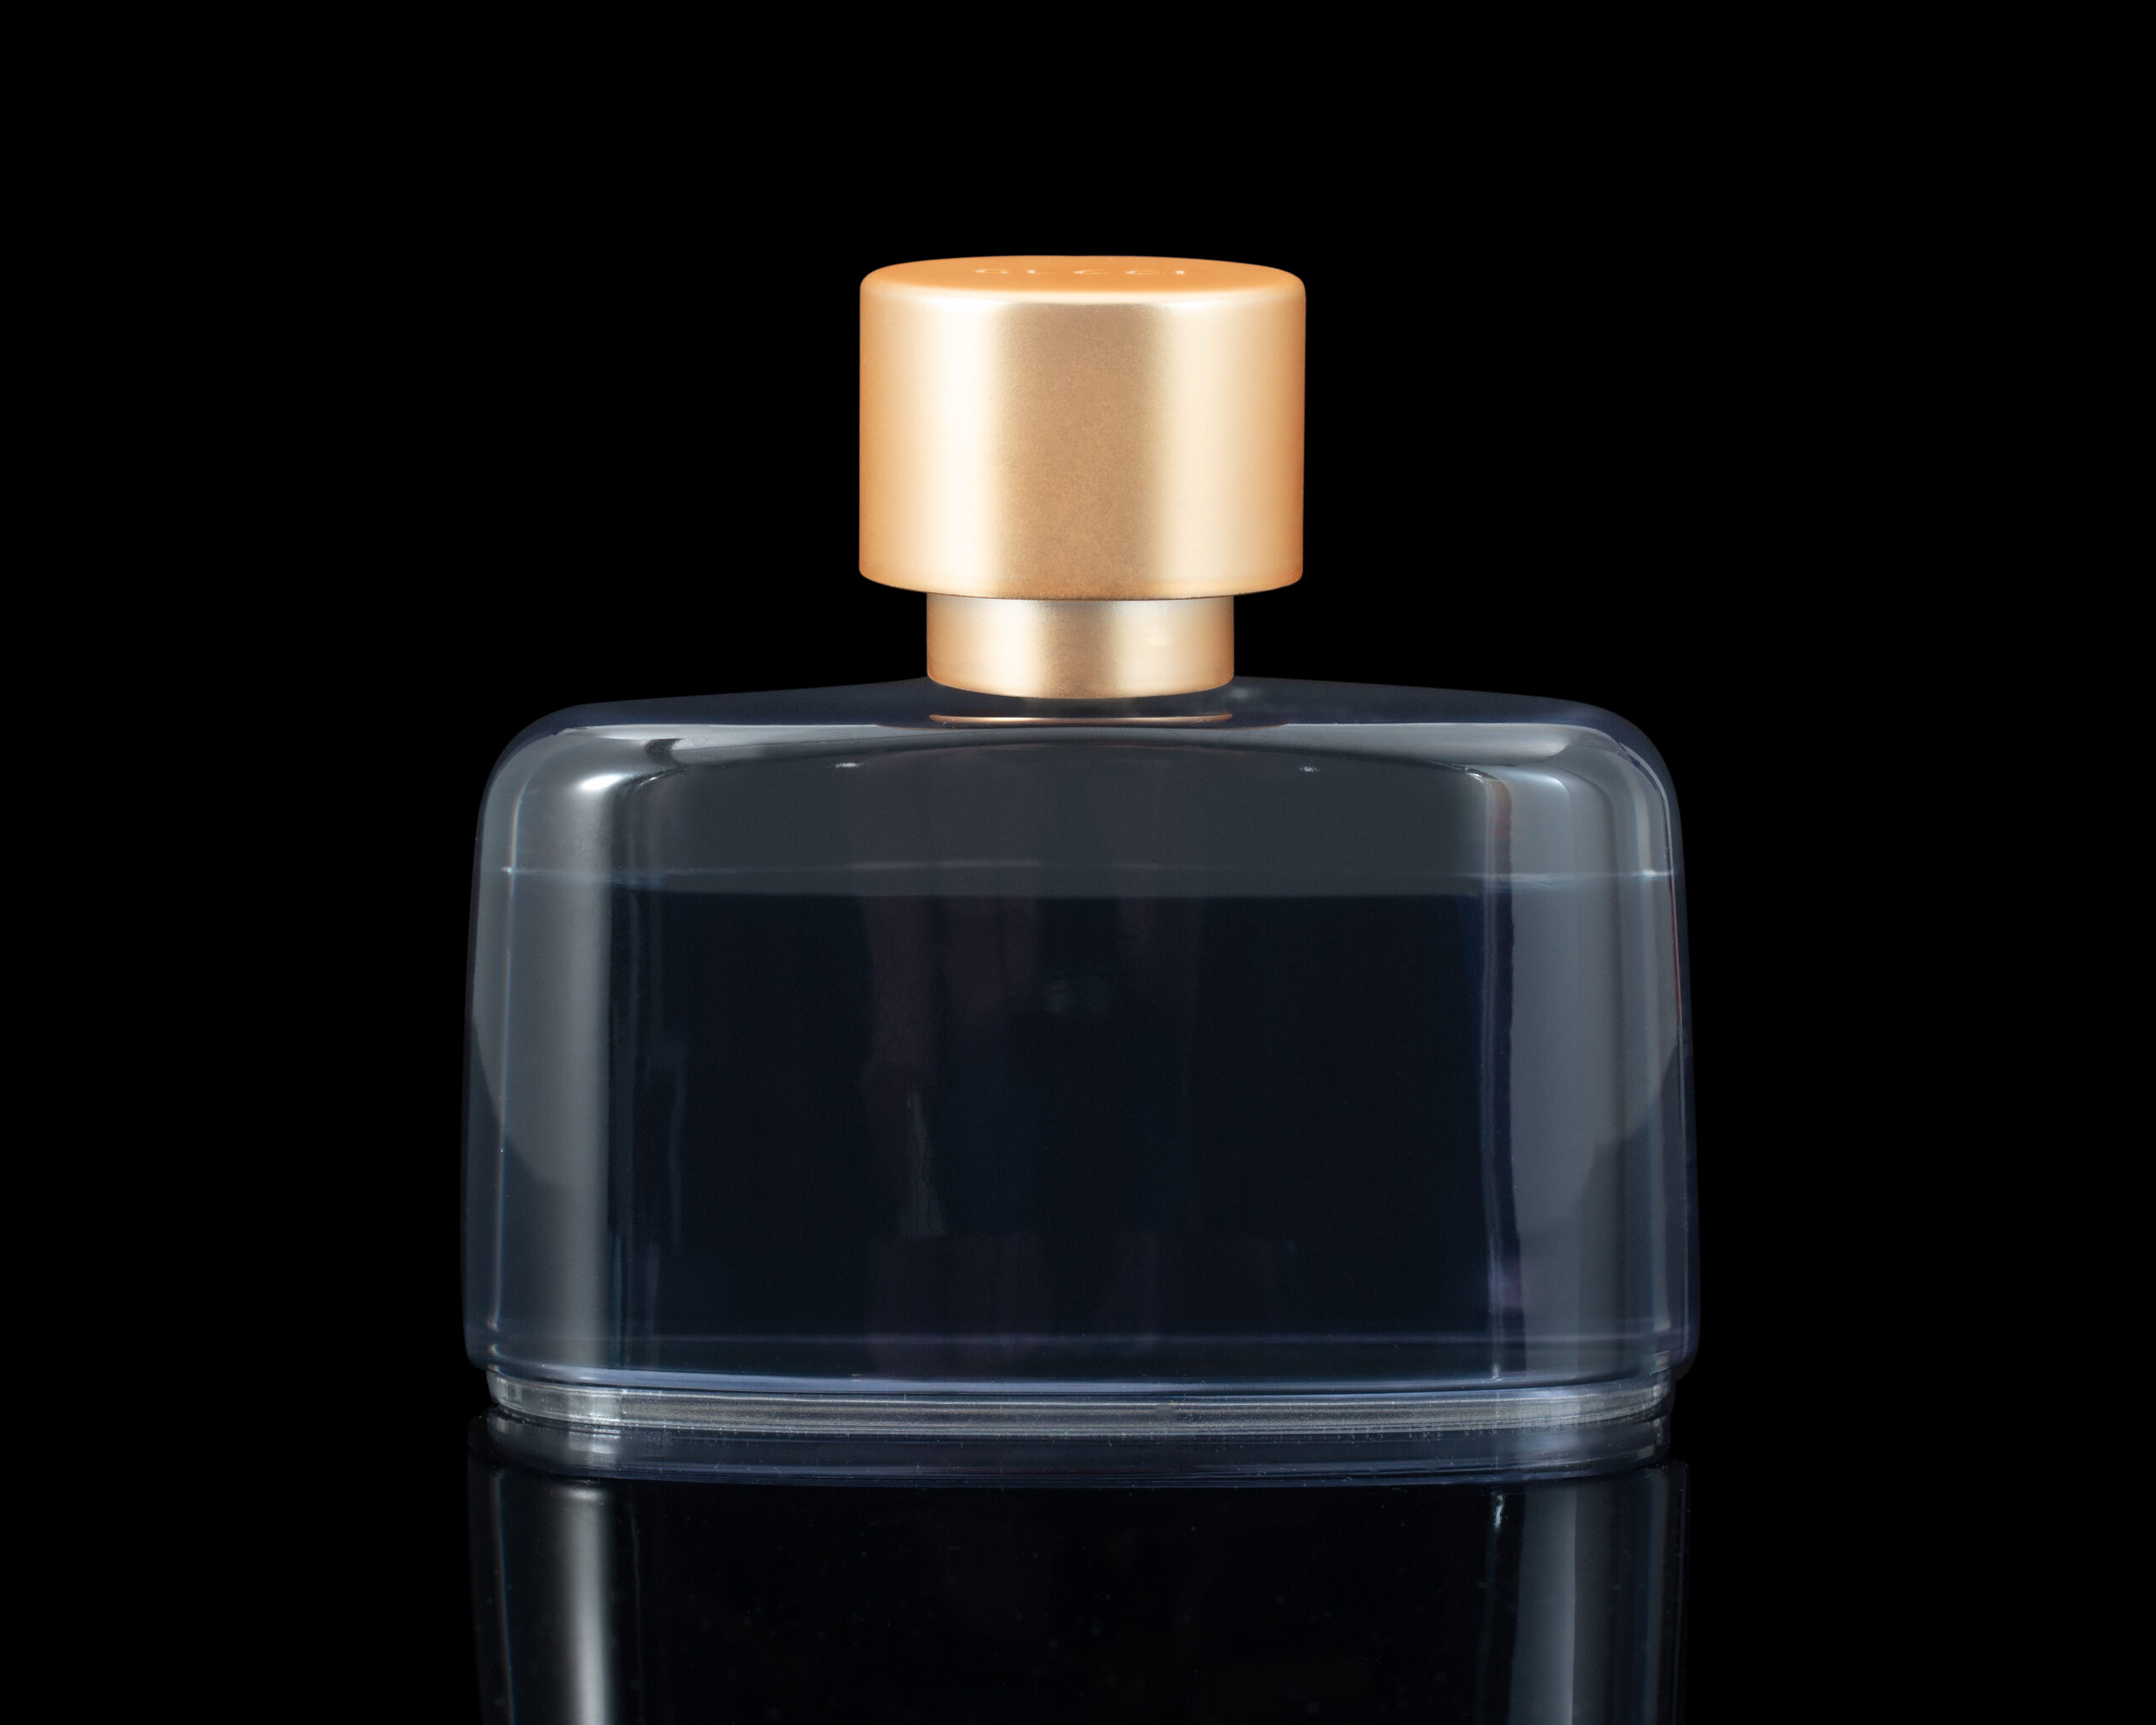
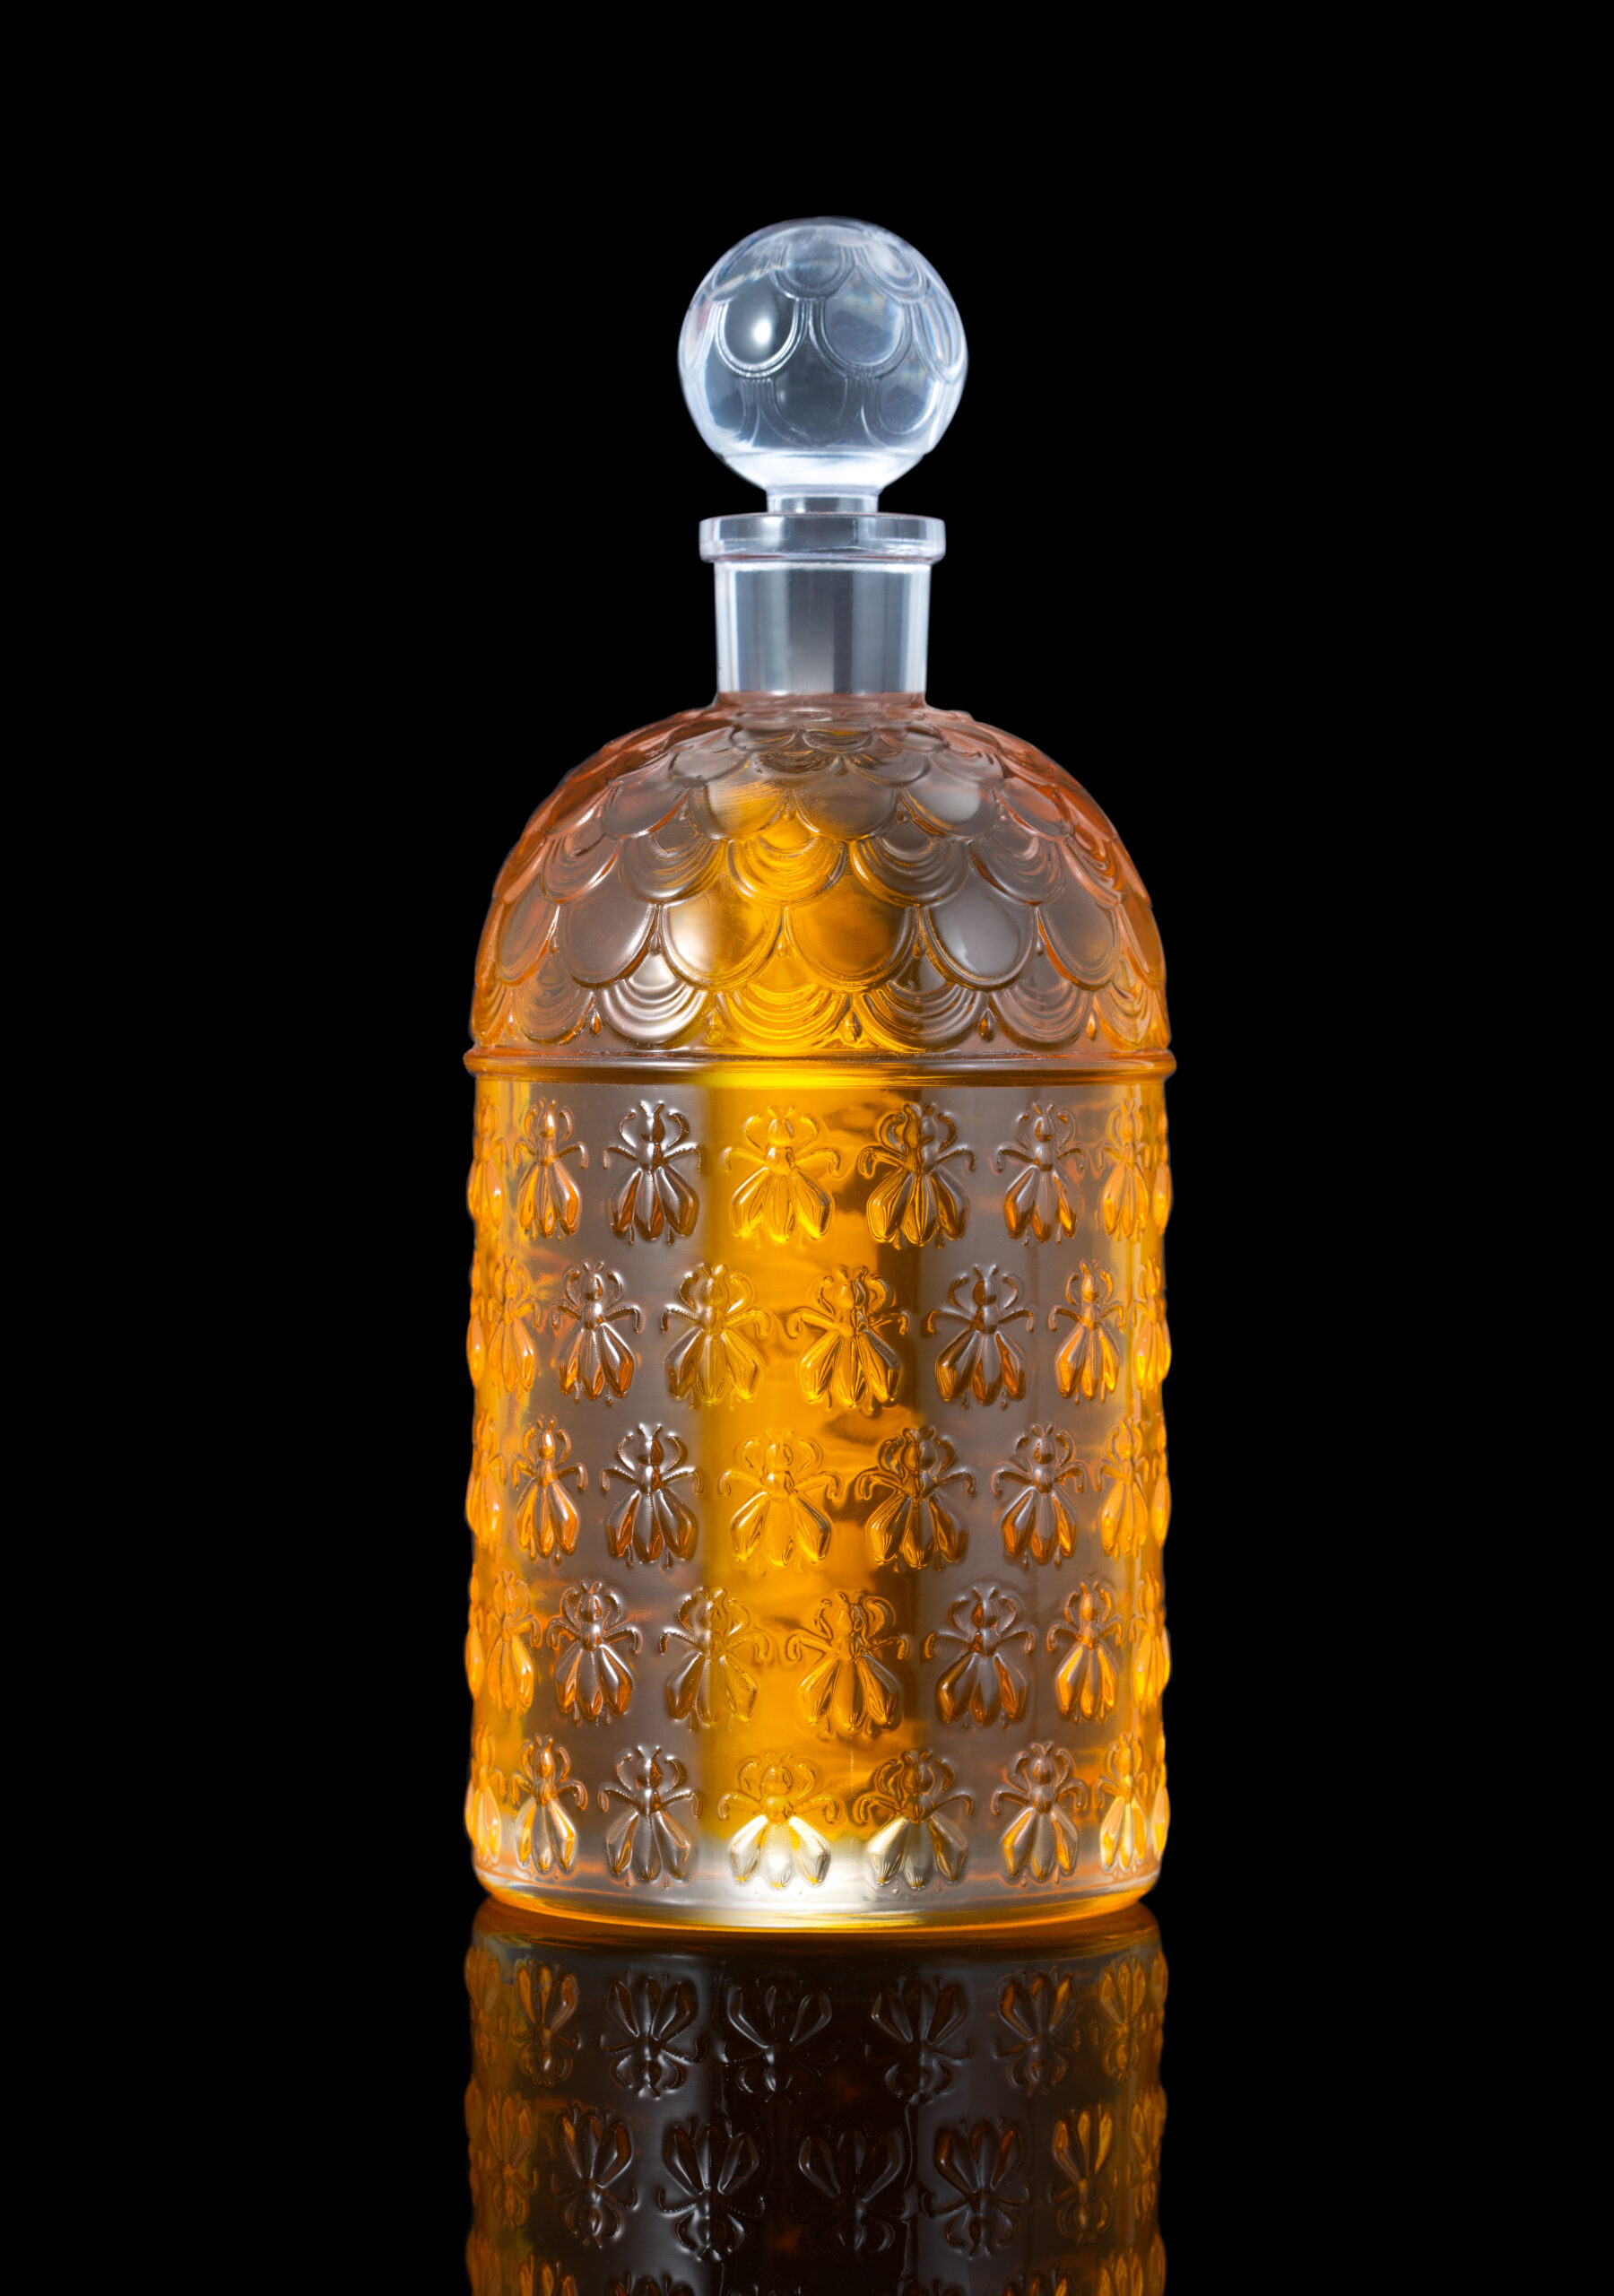
At Axis, we use the following materials:
- The Accura 25 in white for standard parts in high resolution;
- Clearvue translucent resin;
- The RR60WH resin is white in color;
- The HPC Perform resin is white (off-white), suitable for high temperature testing;
- Taurus resin, anthracite color, material with isotropic thermal and mechanical properties;
- The Xtreme resin is a light grey color, similar to the Accura 25 ;
- AMX Black is a black biocompatible resin for medical testing;
- Prototherm resin is a material designed to withstand high temperatures and provide a good surface finish to the part produced.
You want to know more about stereolithography ? You can consult our material sheets.
Deadlines and part design tips
For the dimensions of your parts we are able to respect the standard NFT 58-000 normal class.
For the stereolithography process, it takes 2 to 5 working days depending on the size and finish of your project. For your mini series (up to a few hundred pieces, please contact us to obtain the deadline).
Regarding the design of your parts, plan for a minimum wall thickness of 0.8mm.
Stereolithography in pictures
Our means of production
- 3 SLA 5000 : 500 x 500 x 589mm
- 2 SLA IPRO 8000 : 670 x 775 x 550mm
- 1 SLA IPRO 9000 : 1500 x 750 x 550mm
- 1 RPS NEO 800: 800 x 800 x 650mm
- 1 Pro X 800 : 650 x 750 x 550 mm
- 2 RPS 700 of Raplas: 700x700x500mm
How does it work?
In order to obtain a part via Stereolithography technology, several steps are necessary:
- Preparation :
- First of all, it is essential to have a 3D file obtained with 3D design software (CAD).
- This file is then processed by our cutting software (depending on the possible layer thickness) to prepare each layer. The manufacturing supports are generated and associated with the part. These supports serve as scaffolding for manufacturing.
- Construction :
- This information is transmitted to the production machine. This stereolithography machine consists of a pilot computer, a tank of liquid resin, a platform, a mirror and a laser. The construction of the room begins with the platform flush with the resin while being submerged.
- The laser starts up, the mirror directs this beam according to the trajectory calculated by the pilot computer to trace the contours of the part.
- Upon contact with the laser, the liquid photopolymer resin is cured.
- The platform descends according to the layer thickness and immerses the hardened layers.
- At the same time, a mechanical arm scrapes the resin from the tank to standardize the level of the resin and deposits liquid resin on the parts where it is missing. This step allows you to have regular and flat layers.
- The different steps follow one another: the laser hits the resin, the platform goes down, the scraper smoothes the resin, etc…
- Once all the successive layers have been produced, the platform rises to the surface of the resin tank.
- Finishing :
- The piece is lifted from the platform;
- It is then cleaned, cleaned of liquid resin and exposed to UV light to further harden it;
- Our model makers sand and sand it manually, then apply the finish (s) you want (varnish, primer, paint, fitting inserts, transfer laying, metallization, etc.).
To learn more about our other means of production in additive manufacturing, do not hesitate to consult our
page dedicated to our machines.
Need a quote or information on rapid prototyping?
Ask us for a
quick quote
or call us at
+33 (0)5 55 06 17 17