Reaction injection molding (RIM) is an injection molding process in which several reactive components, possibly with added fillers, are intimately mixed under pressure before being introduced into the mold, where they react (polymerization, cross-linking) to form the finished object.
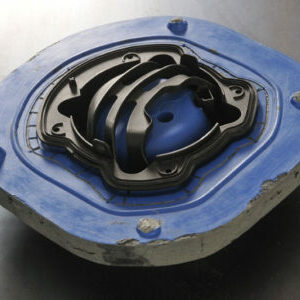
As with vacuum casting, we start with a master model created by Stereolithography, then a mold is made from epoxy or silicone resin.
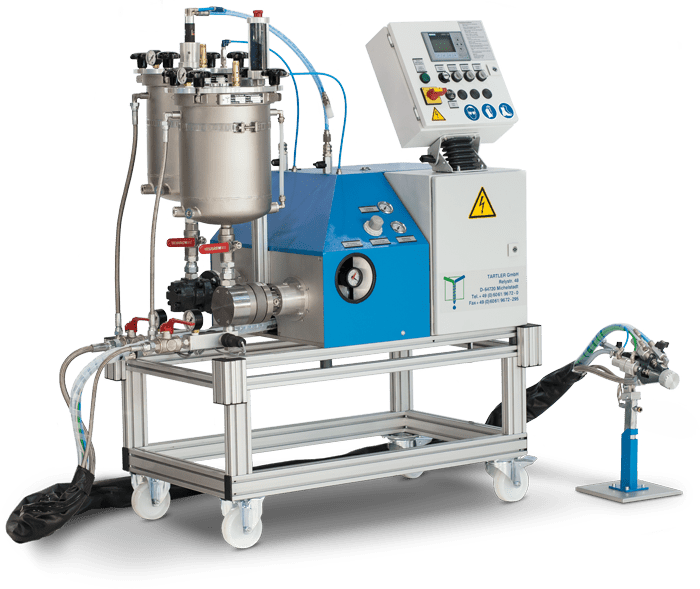
This mold is then filled with polyurethane resin using a special low-pressure machine.
RIM reaction injection molding is an excellent alternative to injection molding for production runs of 30 to 100 parts. Quality is equivalent, with a wide range of technical resins and colors.
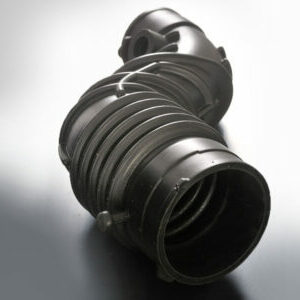
Reaction injection molding can produce strong, flexible, lightweight parts that can easily be painted.
Cycle time is fast compared to vacuum-cast materials.
The two-component mixture injected into the mold has a much lower viscosity than that of molten thermoplastic polymers, so large, lightweight, thin-walled articles can be manufactured successfully by RIM. This less viscous mixture also requires fewer clamping forces, leading to smaller equipment and reduced investment.
At Axis, we use mainly PP and a resin similar to ABS. Don’t hesitate to contact us if you have a specific need.
We can take care of the finishing touches if required:
For RIM molding, it will take between 2 and 3 weeks to design the tooling, with production of 10 to 30 parts per week. It all depends on the size and complexity of your project.
The sub-assemblies are always designed according to your functional criteria. We’ll be happy to help you assess your needs.
To find out more about our other additive manufacturing production resources, please visit our our machines page.
Need a quote or information on rapid prototyping?
Ask us for a quick quote or call us on +33 (0)5 55 06 17 17